Always get adult permission and supervision before taking things apart.
Always take out the batteries first if you do take something apart.
Never touch bare wires, you could shock yourself!
Never take apart things that plug into the wall.
Diagnosis
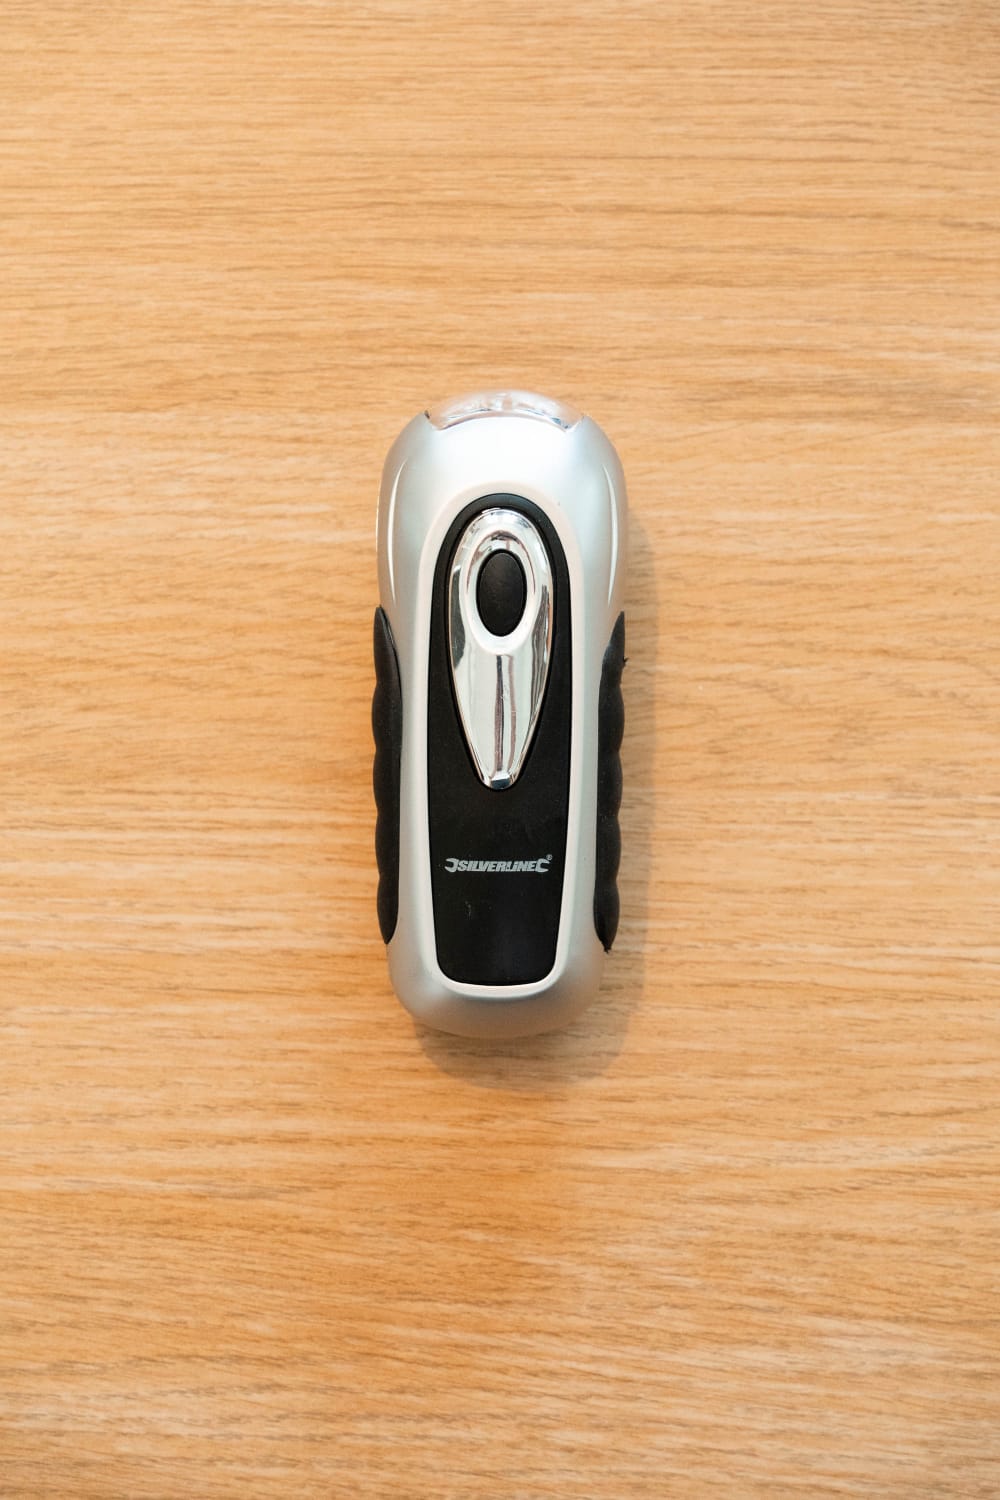
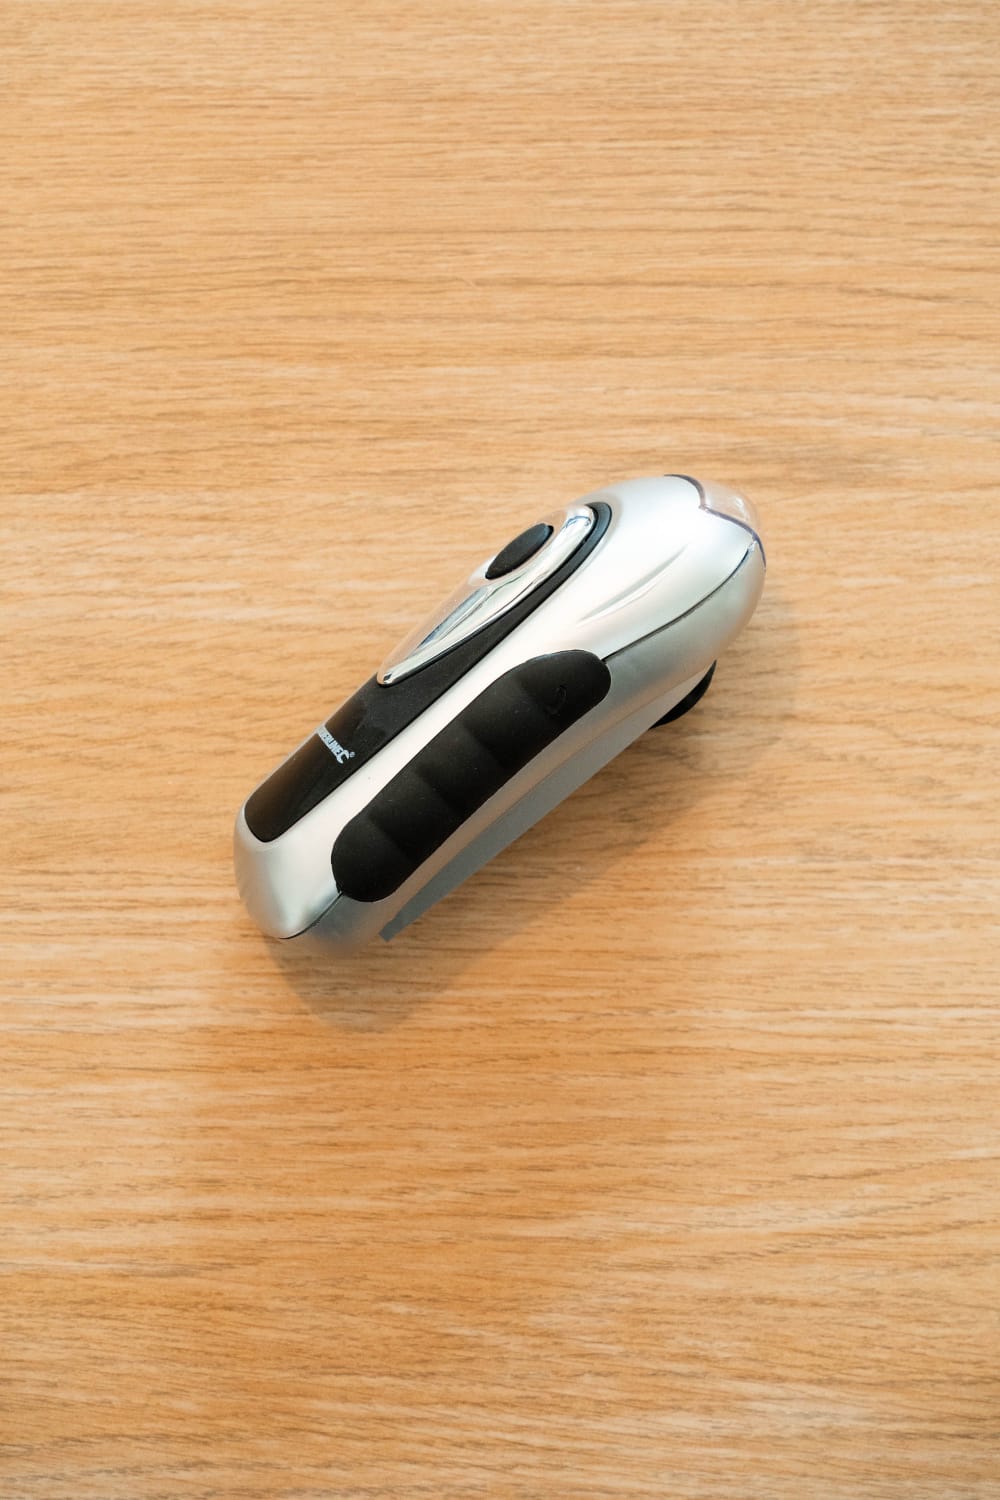
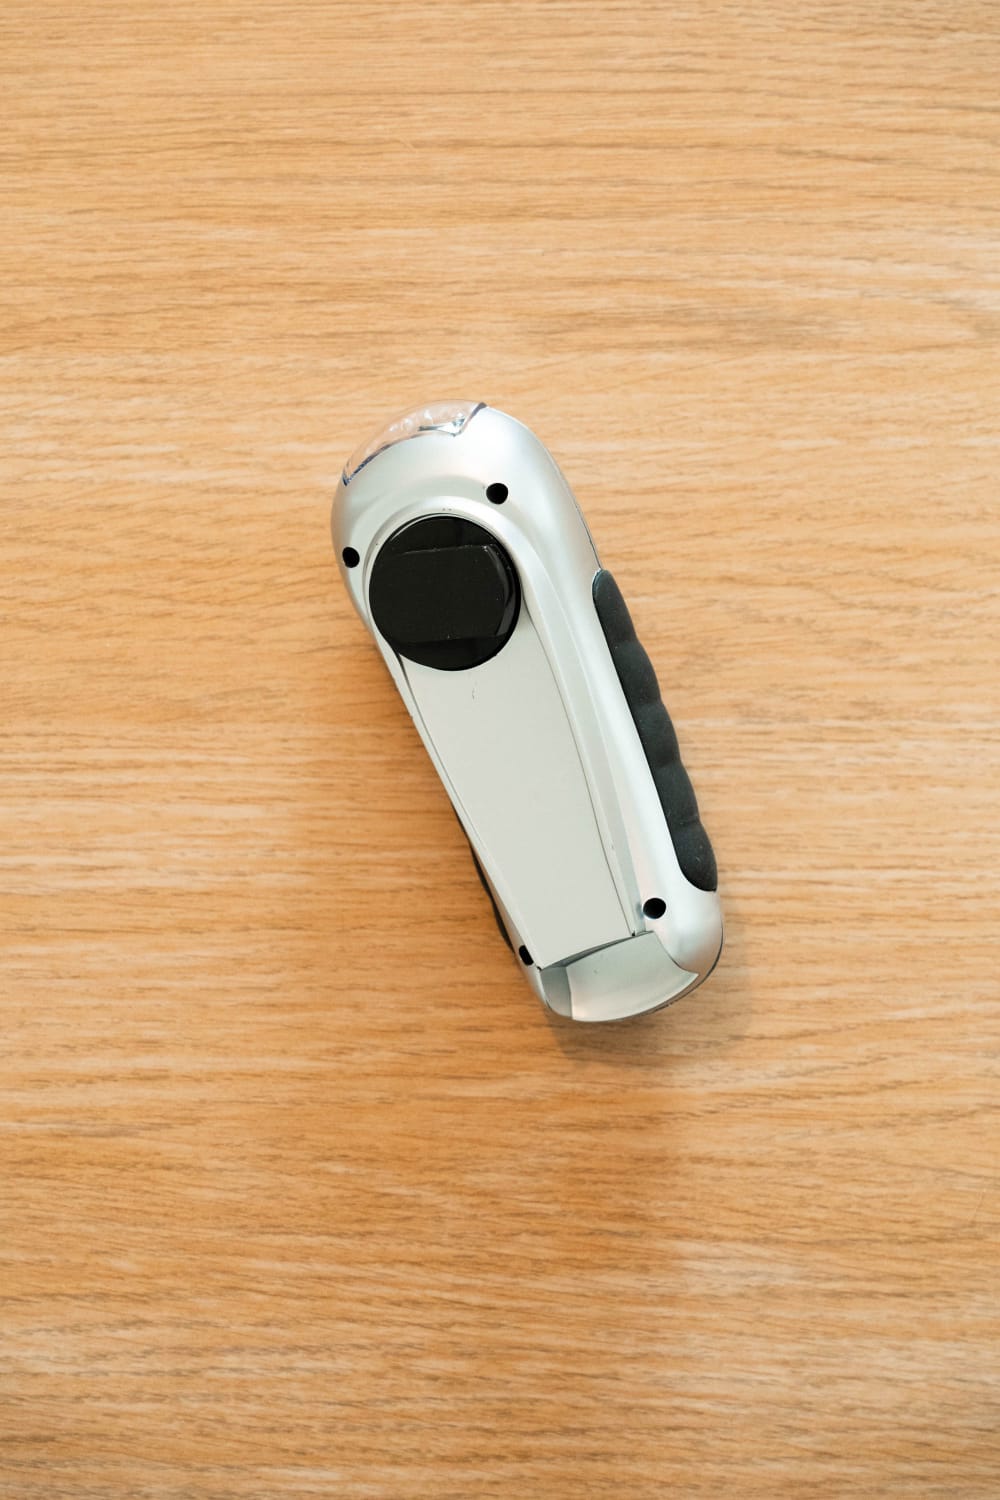
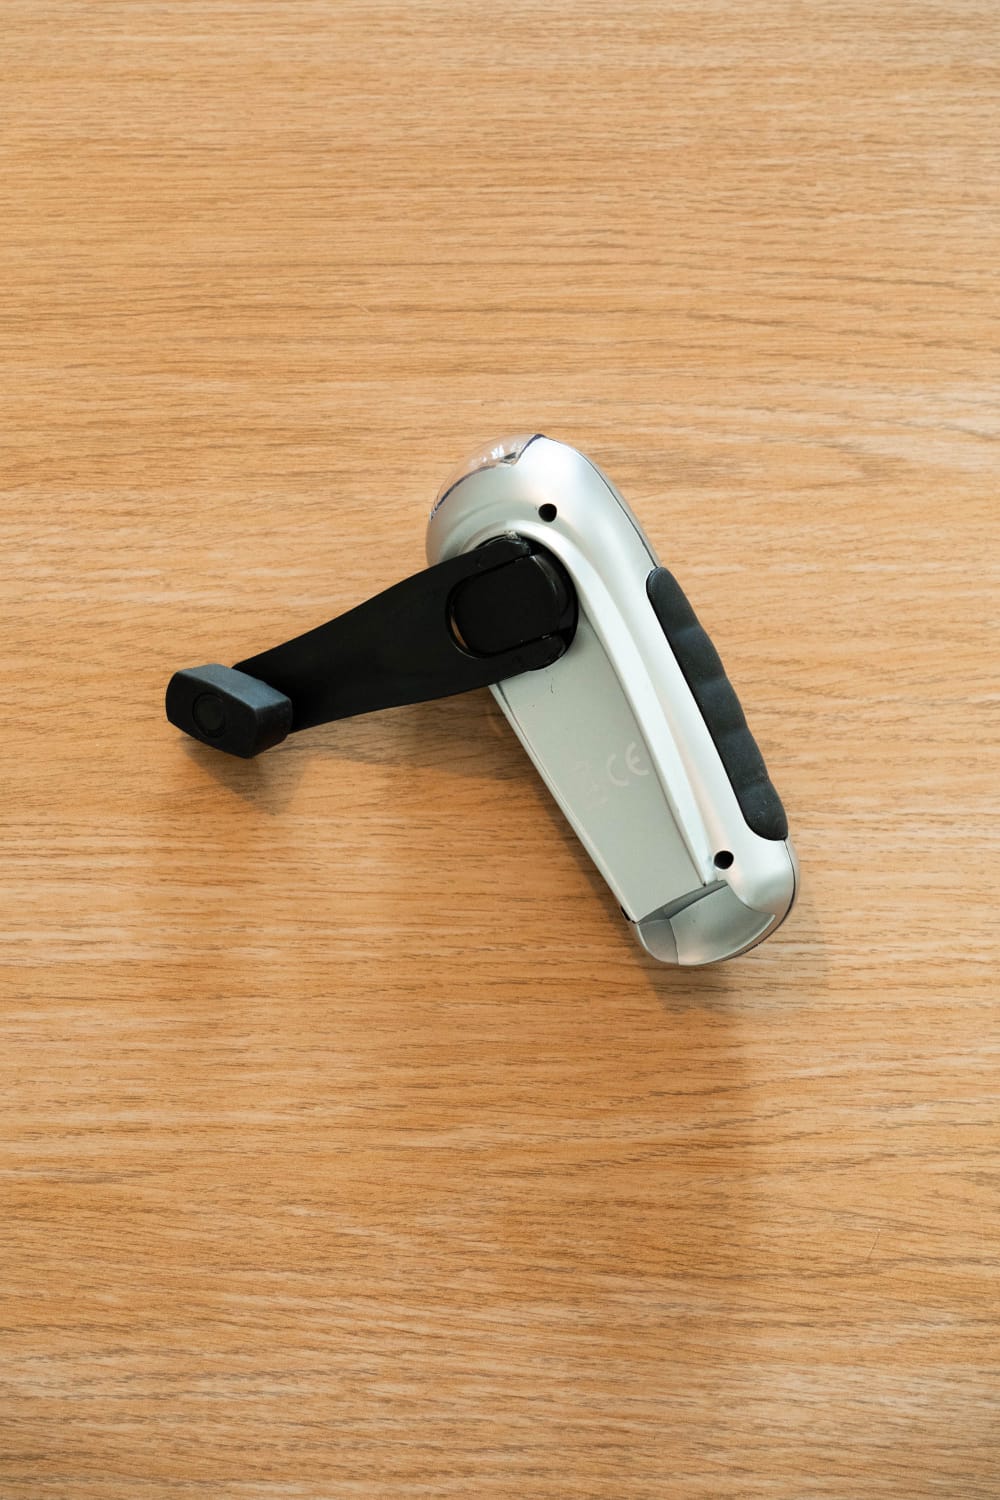
Complete an initial check to see if the handle mechanism works and lights up the torch.
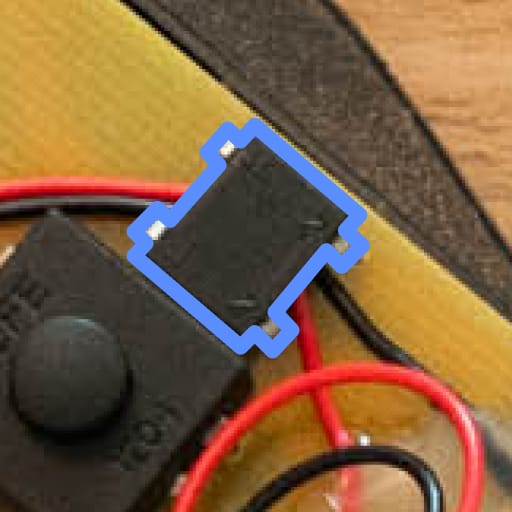
Diagnosis
Tap why you think the torch isn't switching on when you wind it up!
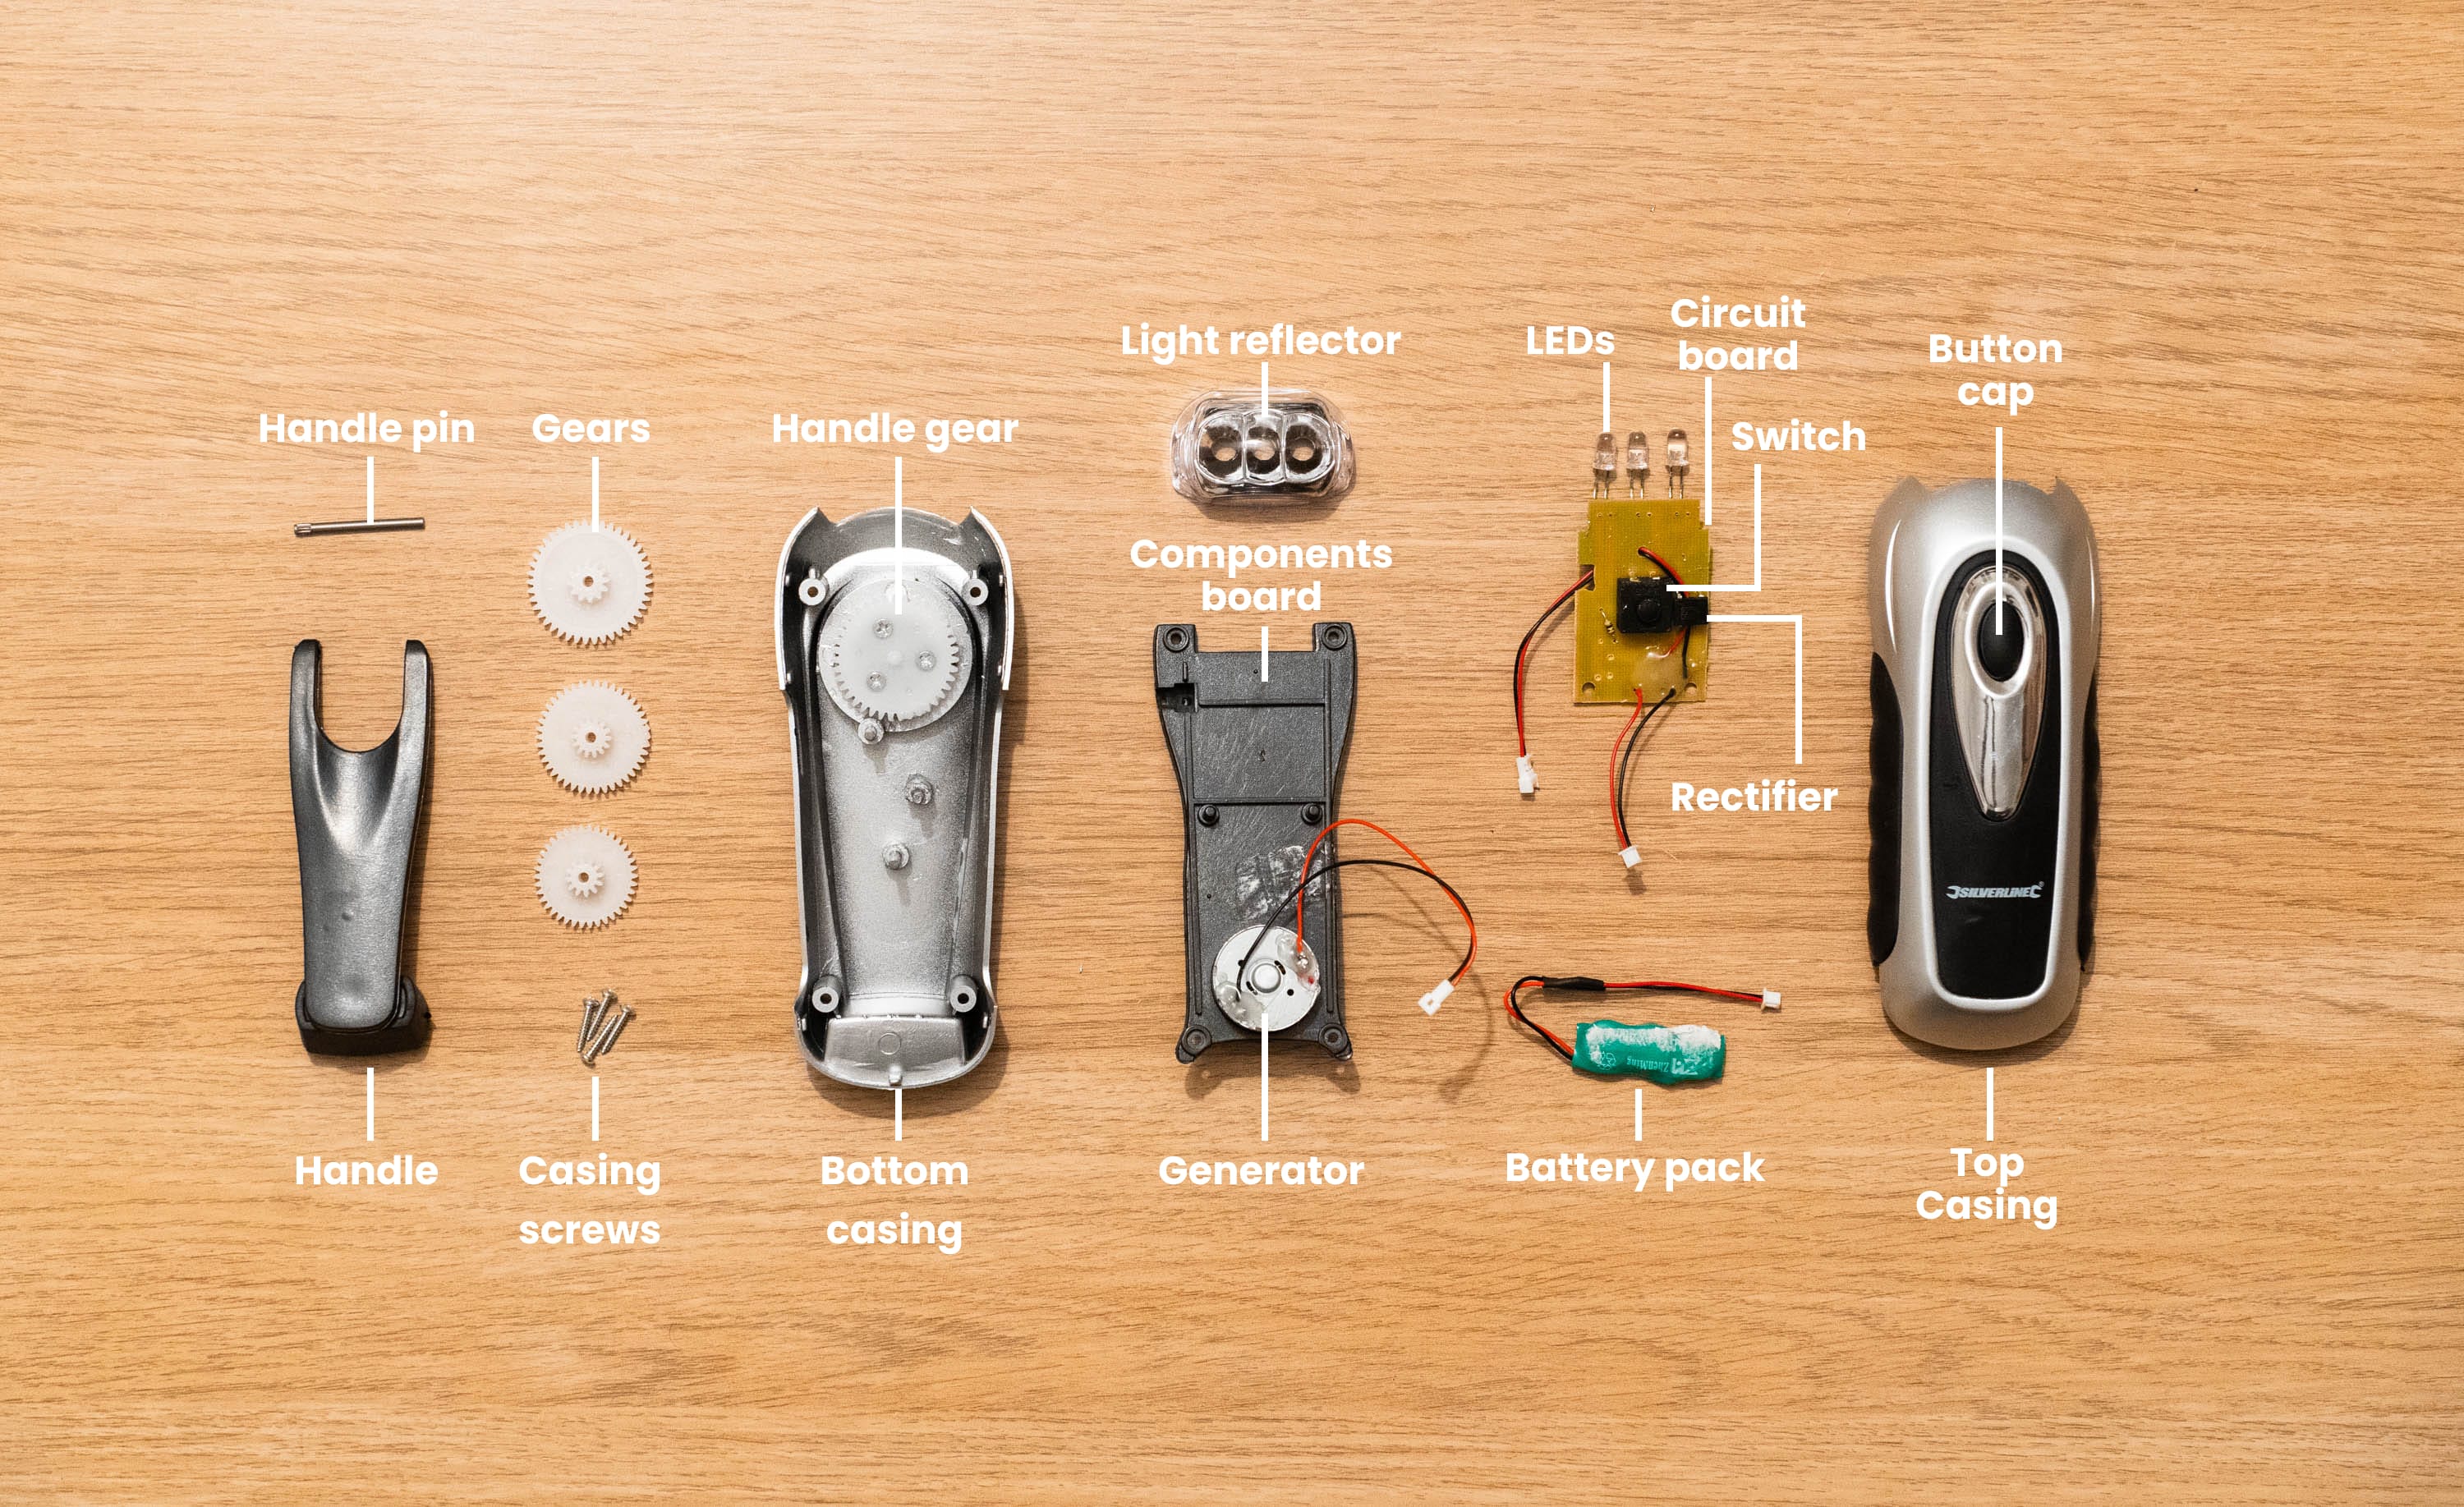
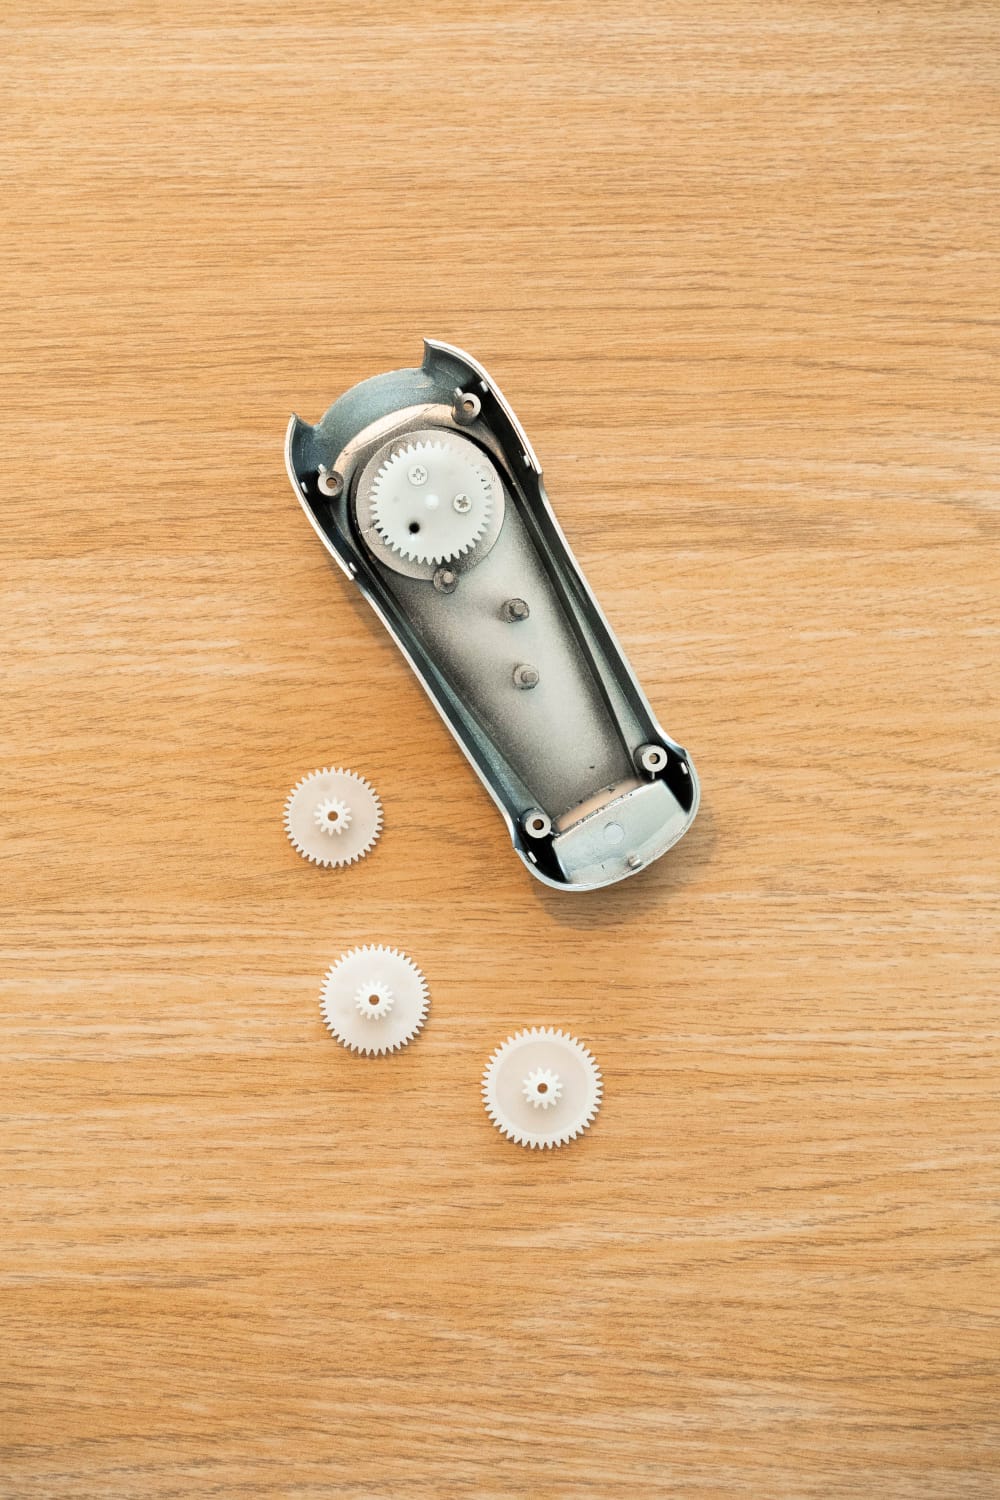
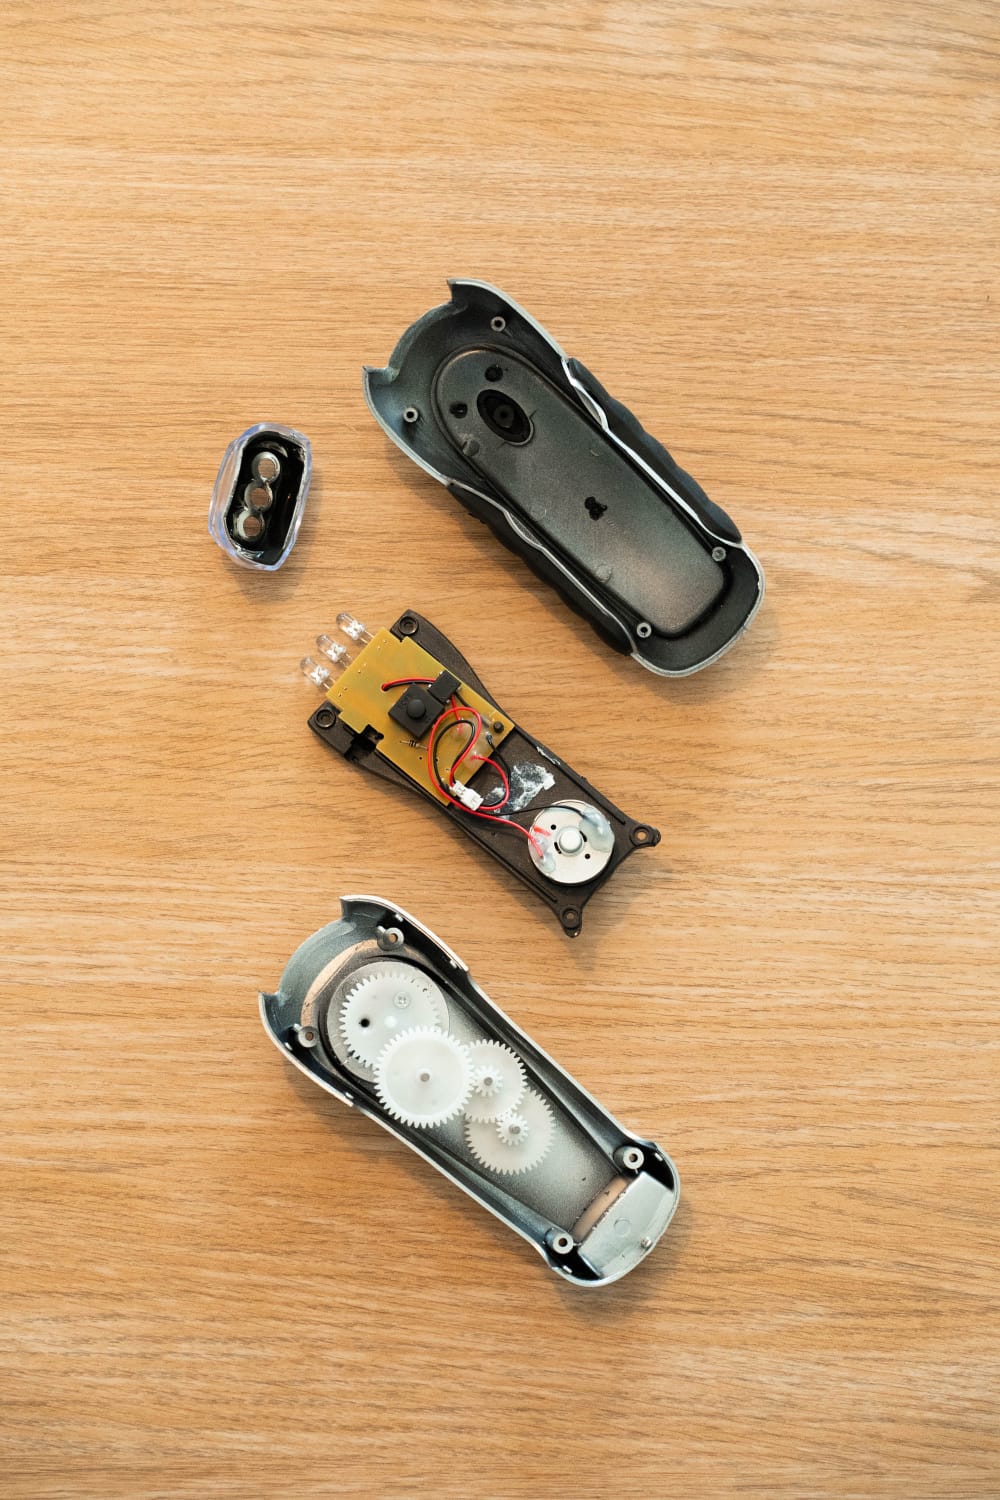
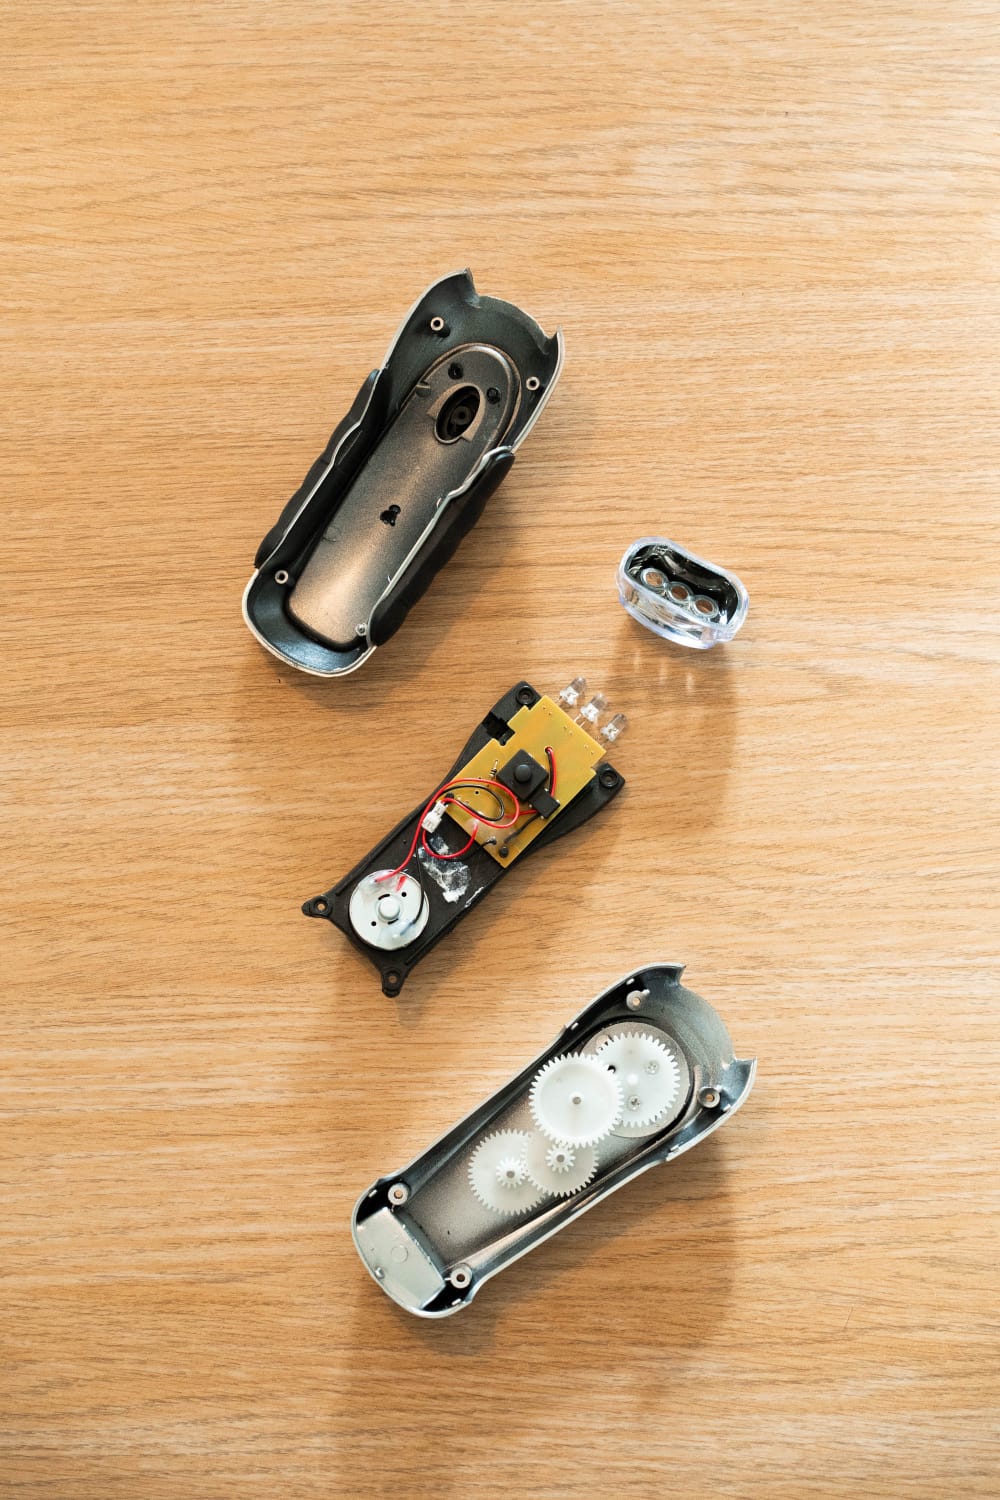
Disassemble
Undo the four screws joining the two halves of the torch, and pull apart the casing.
Diagnosis
The torch wasn’t lighting up as the gears were not in place!

Diagnosis
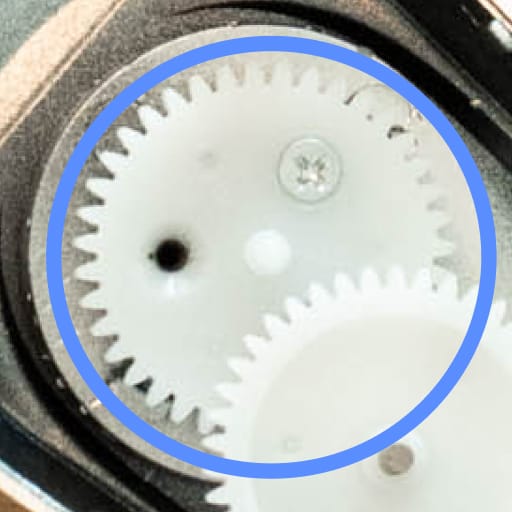
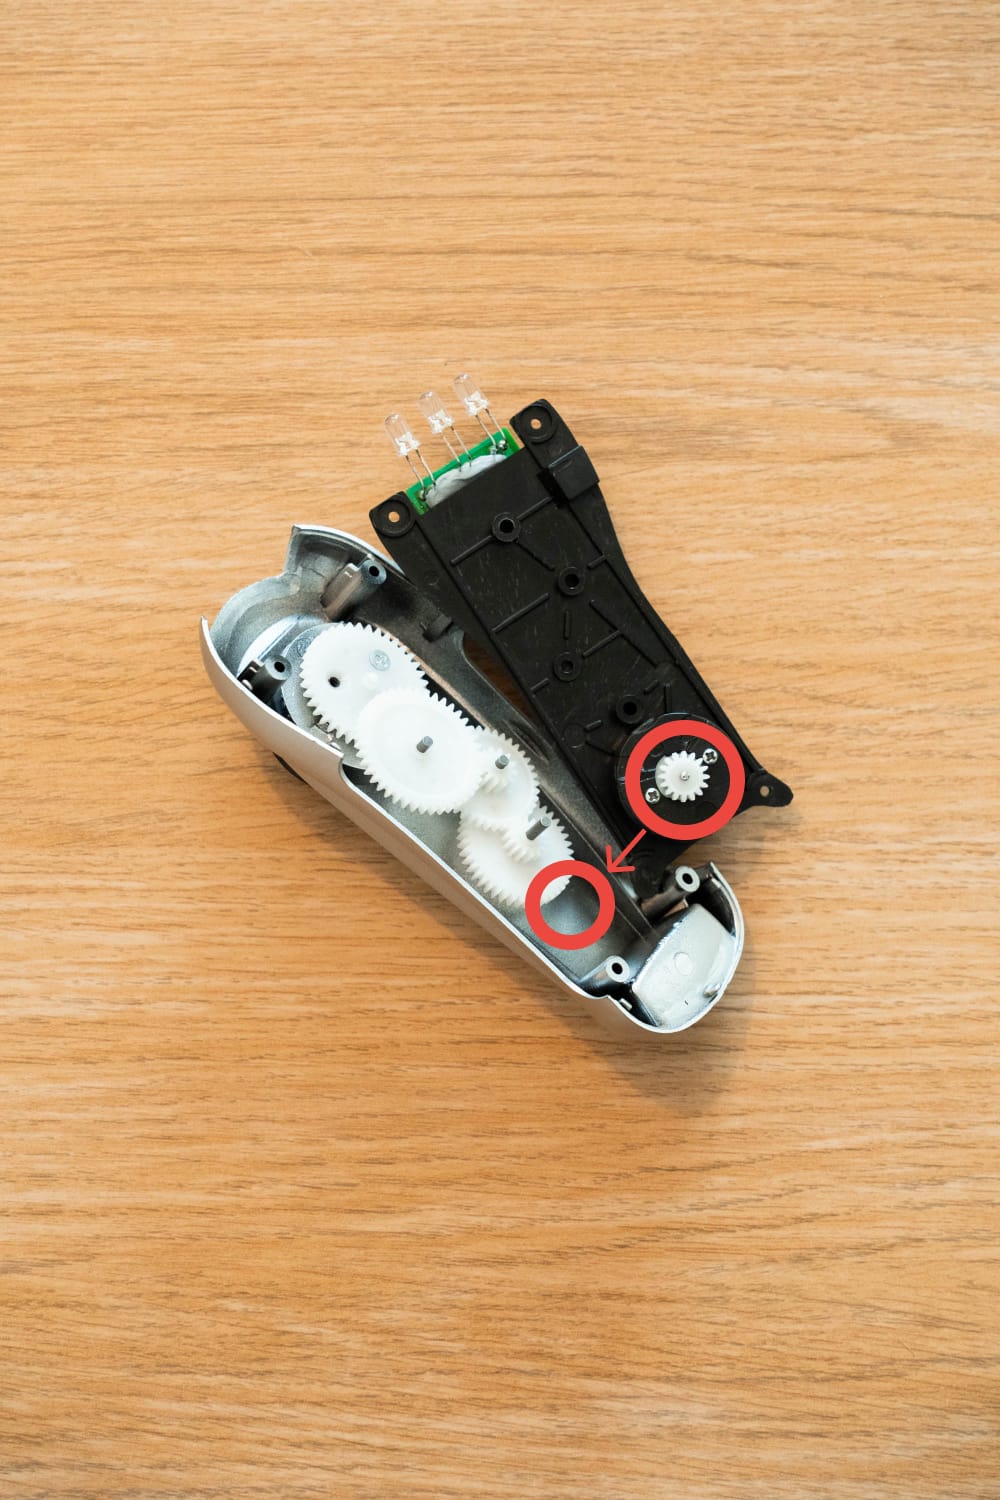
Notice the three spindles showing where gears are needed. Find the missing one in your spare parts bag, Bag 1.
Repair
Each gear is a slightly different size. They'll only fit in the torch one way to transfer motion from handle to generator.
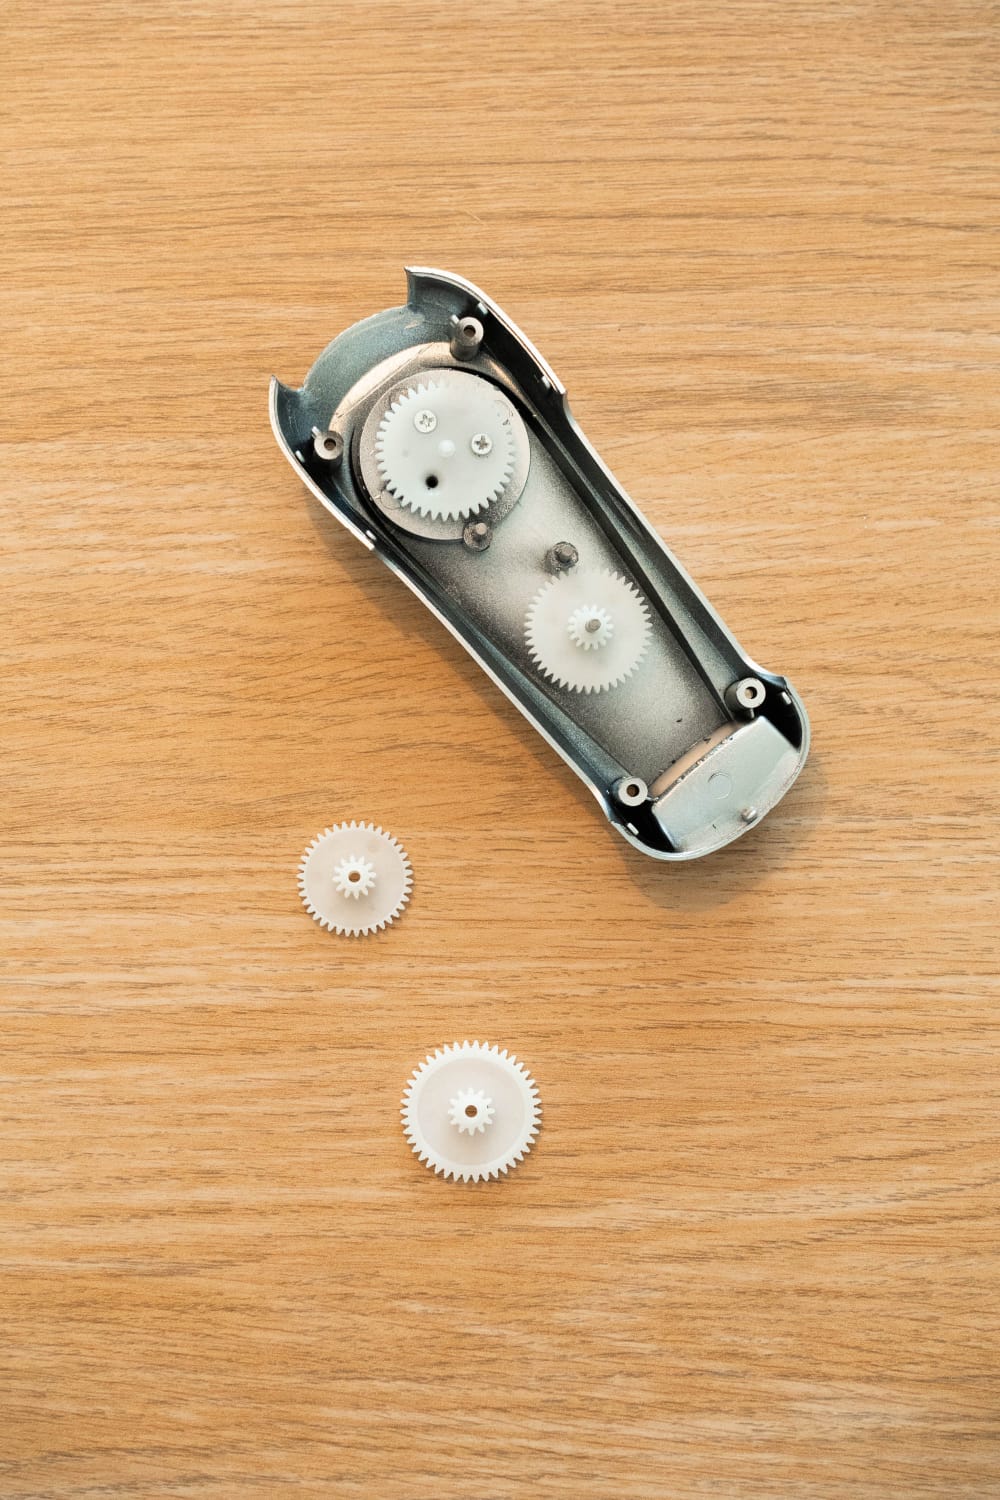
The medium diameter gear slots onto the bottom spindle, flat side down.
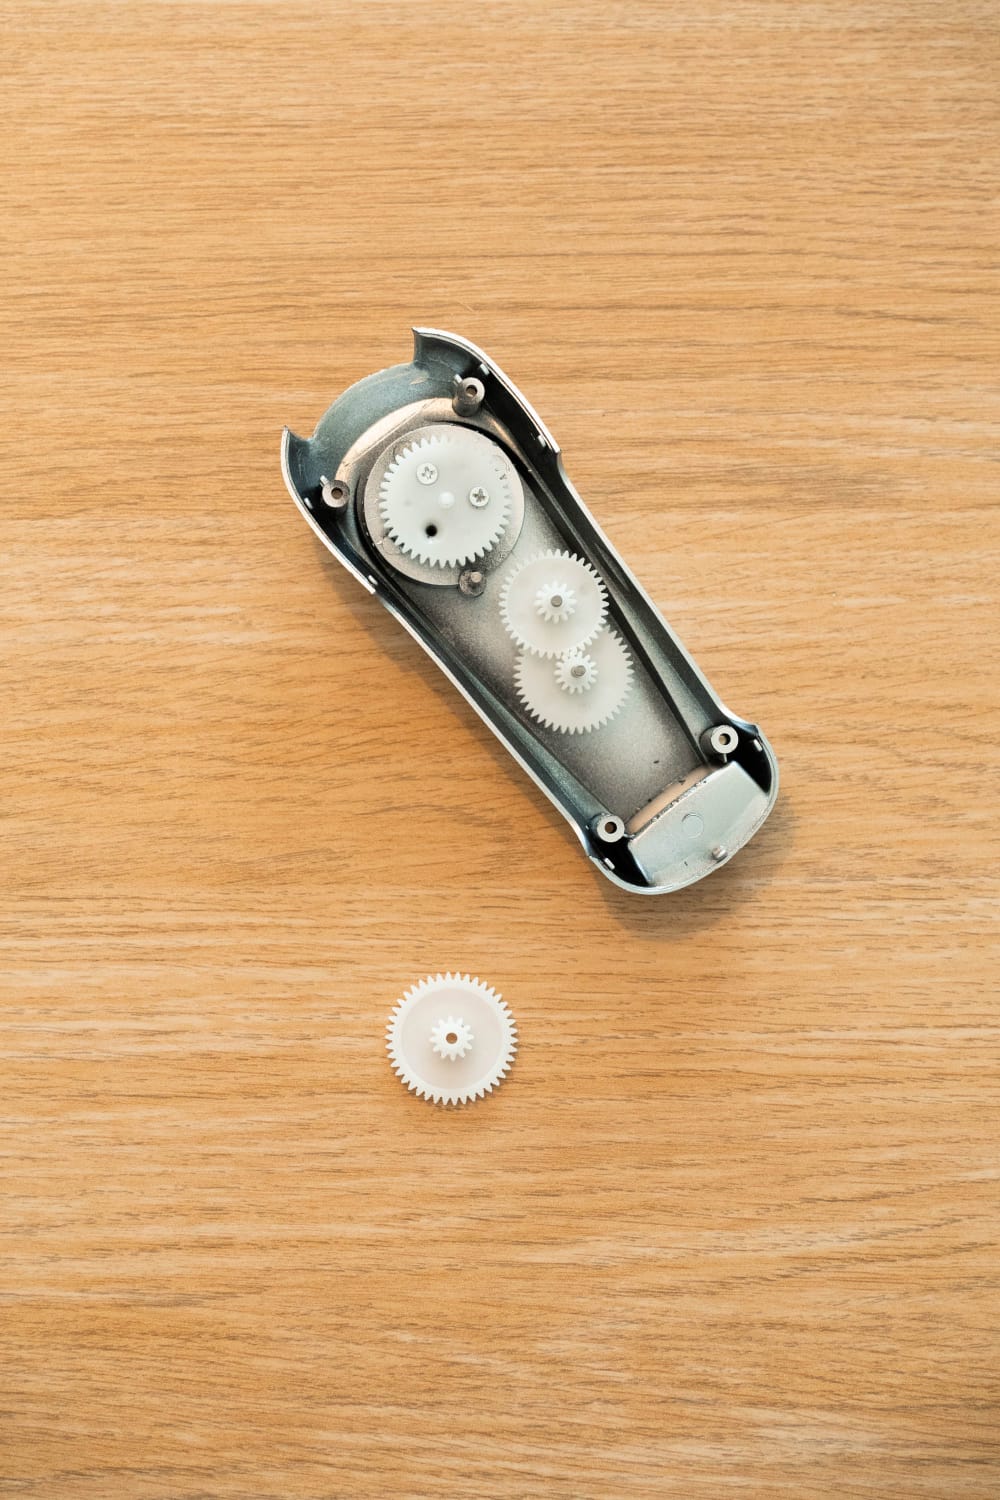
The smallest diameter gear slots onto the middle spindle, flat side down, connecting with the bottom gear.
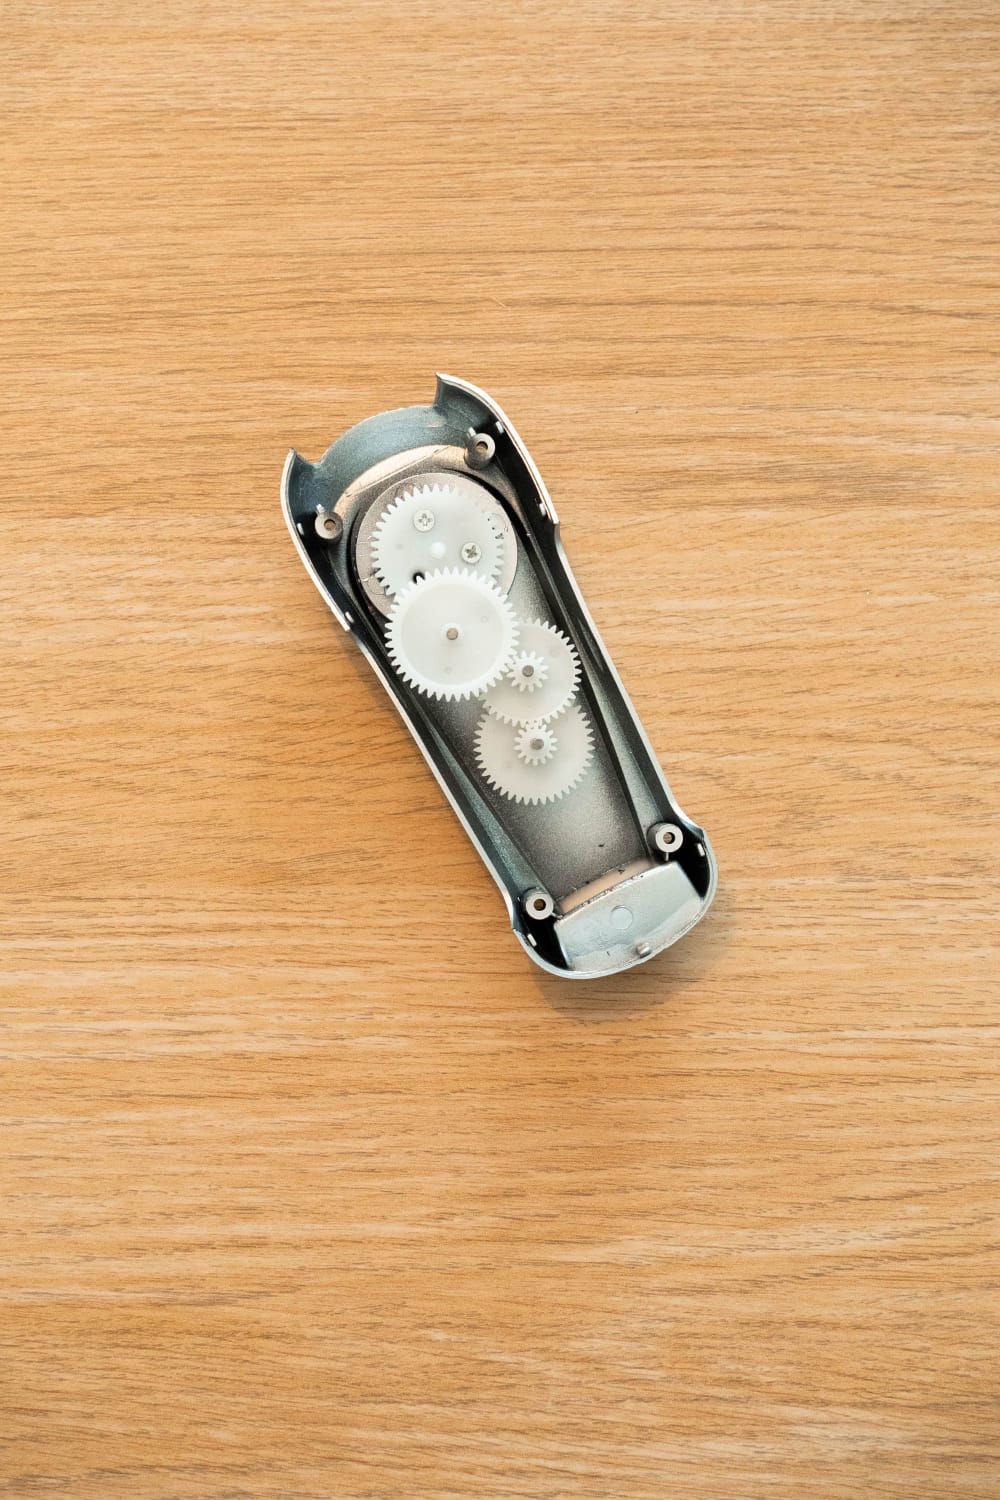
The largest diameter gear slots onto the top spindle, flat side up, connecting with the middle gear.
Repair
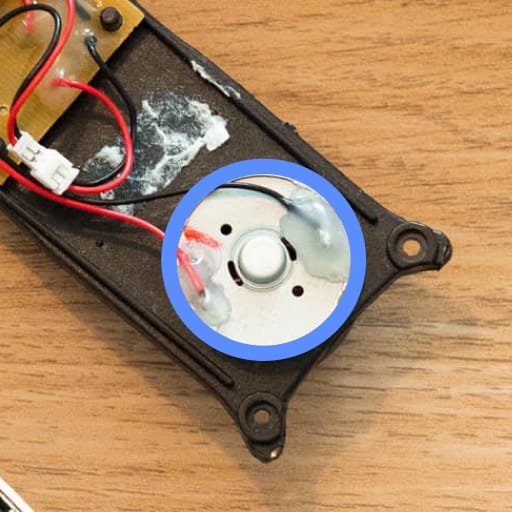
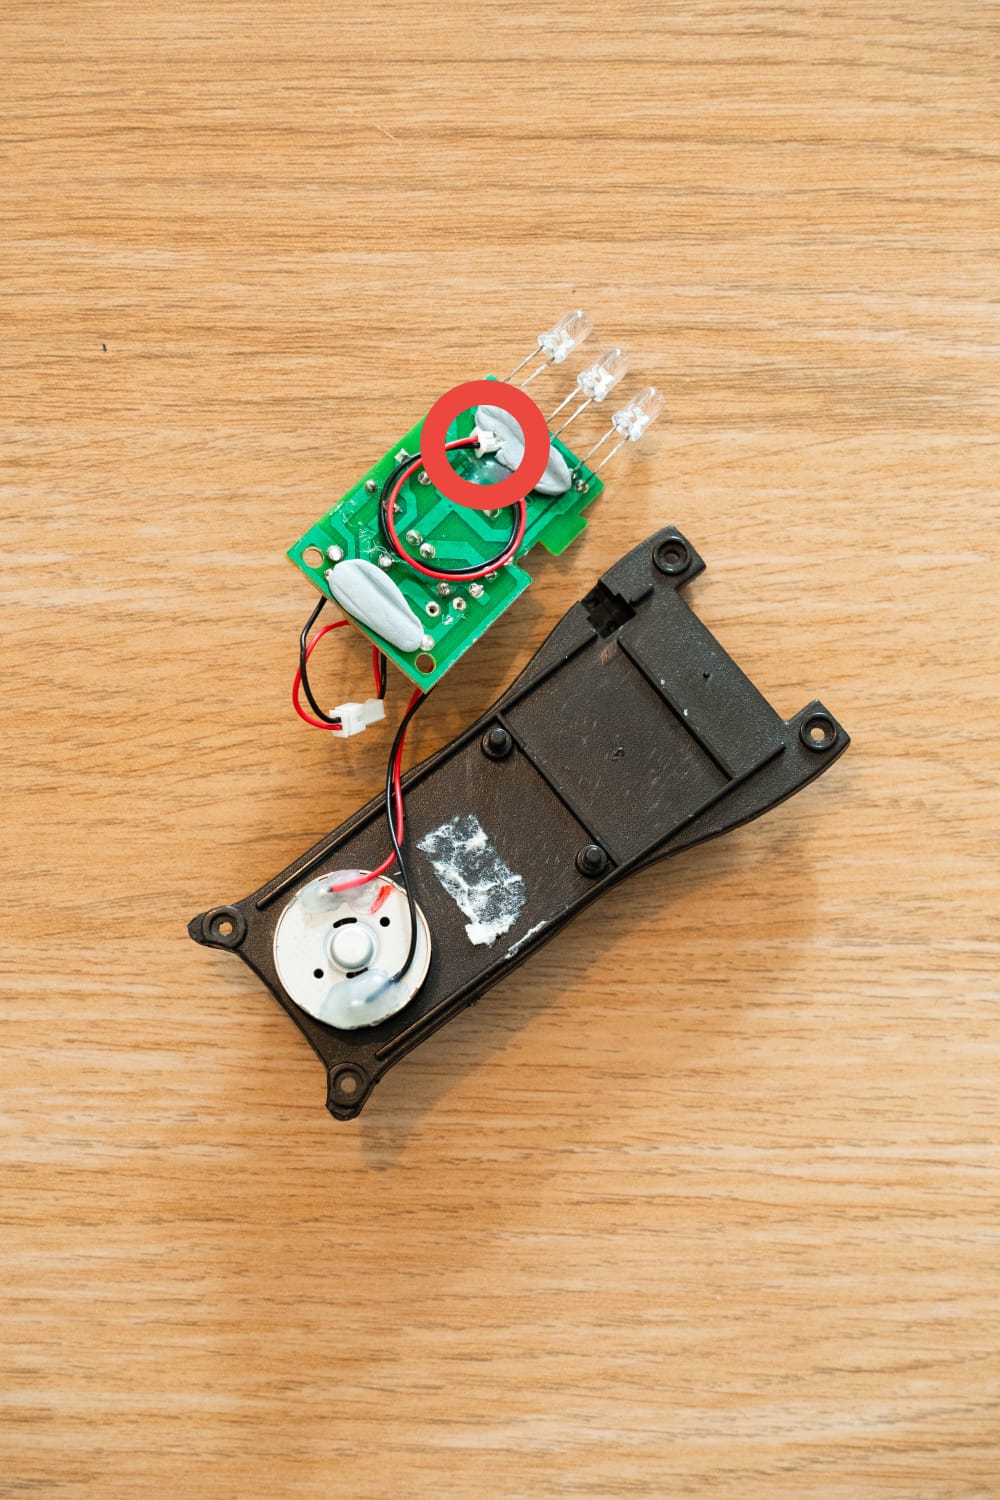
Before we put the component board back in place, let's find the generator.
Repair
You're about to connect the gears to the generator to generate power. Tap on the image you think is the generator!
Repair
The gear attached to the generator needs to line up with the end of the gear train. Make sure the screw holes line up and the gears are connected!
Repair
Align the two casings and thread the bulbs through the holes in the light reflector. Make sure the side of the light reflector with the tab faces the bottom.
Repair
You will need to bunch the wires in the middle of the board so that it all fits together. Before screwing it back together, let's run a test!
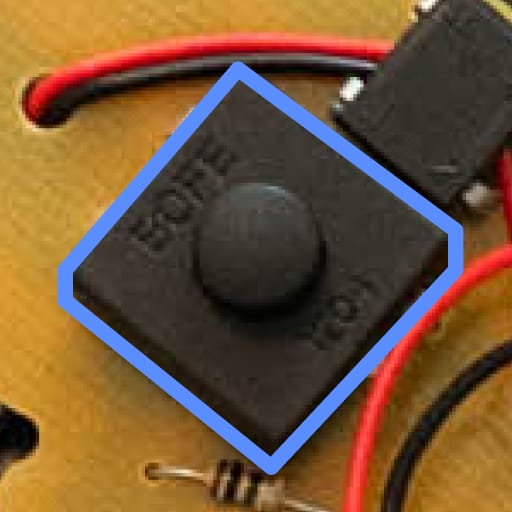
Test
What do you notice about how the torch is working? Can you identify two problems with it? (You may need to press the 'on' button first.)
Diagnosis
A lever is the mechanism used to turn the handle. Let's find out more about how they work!
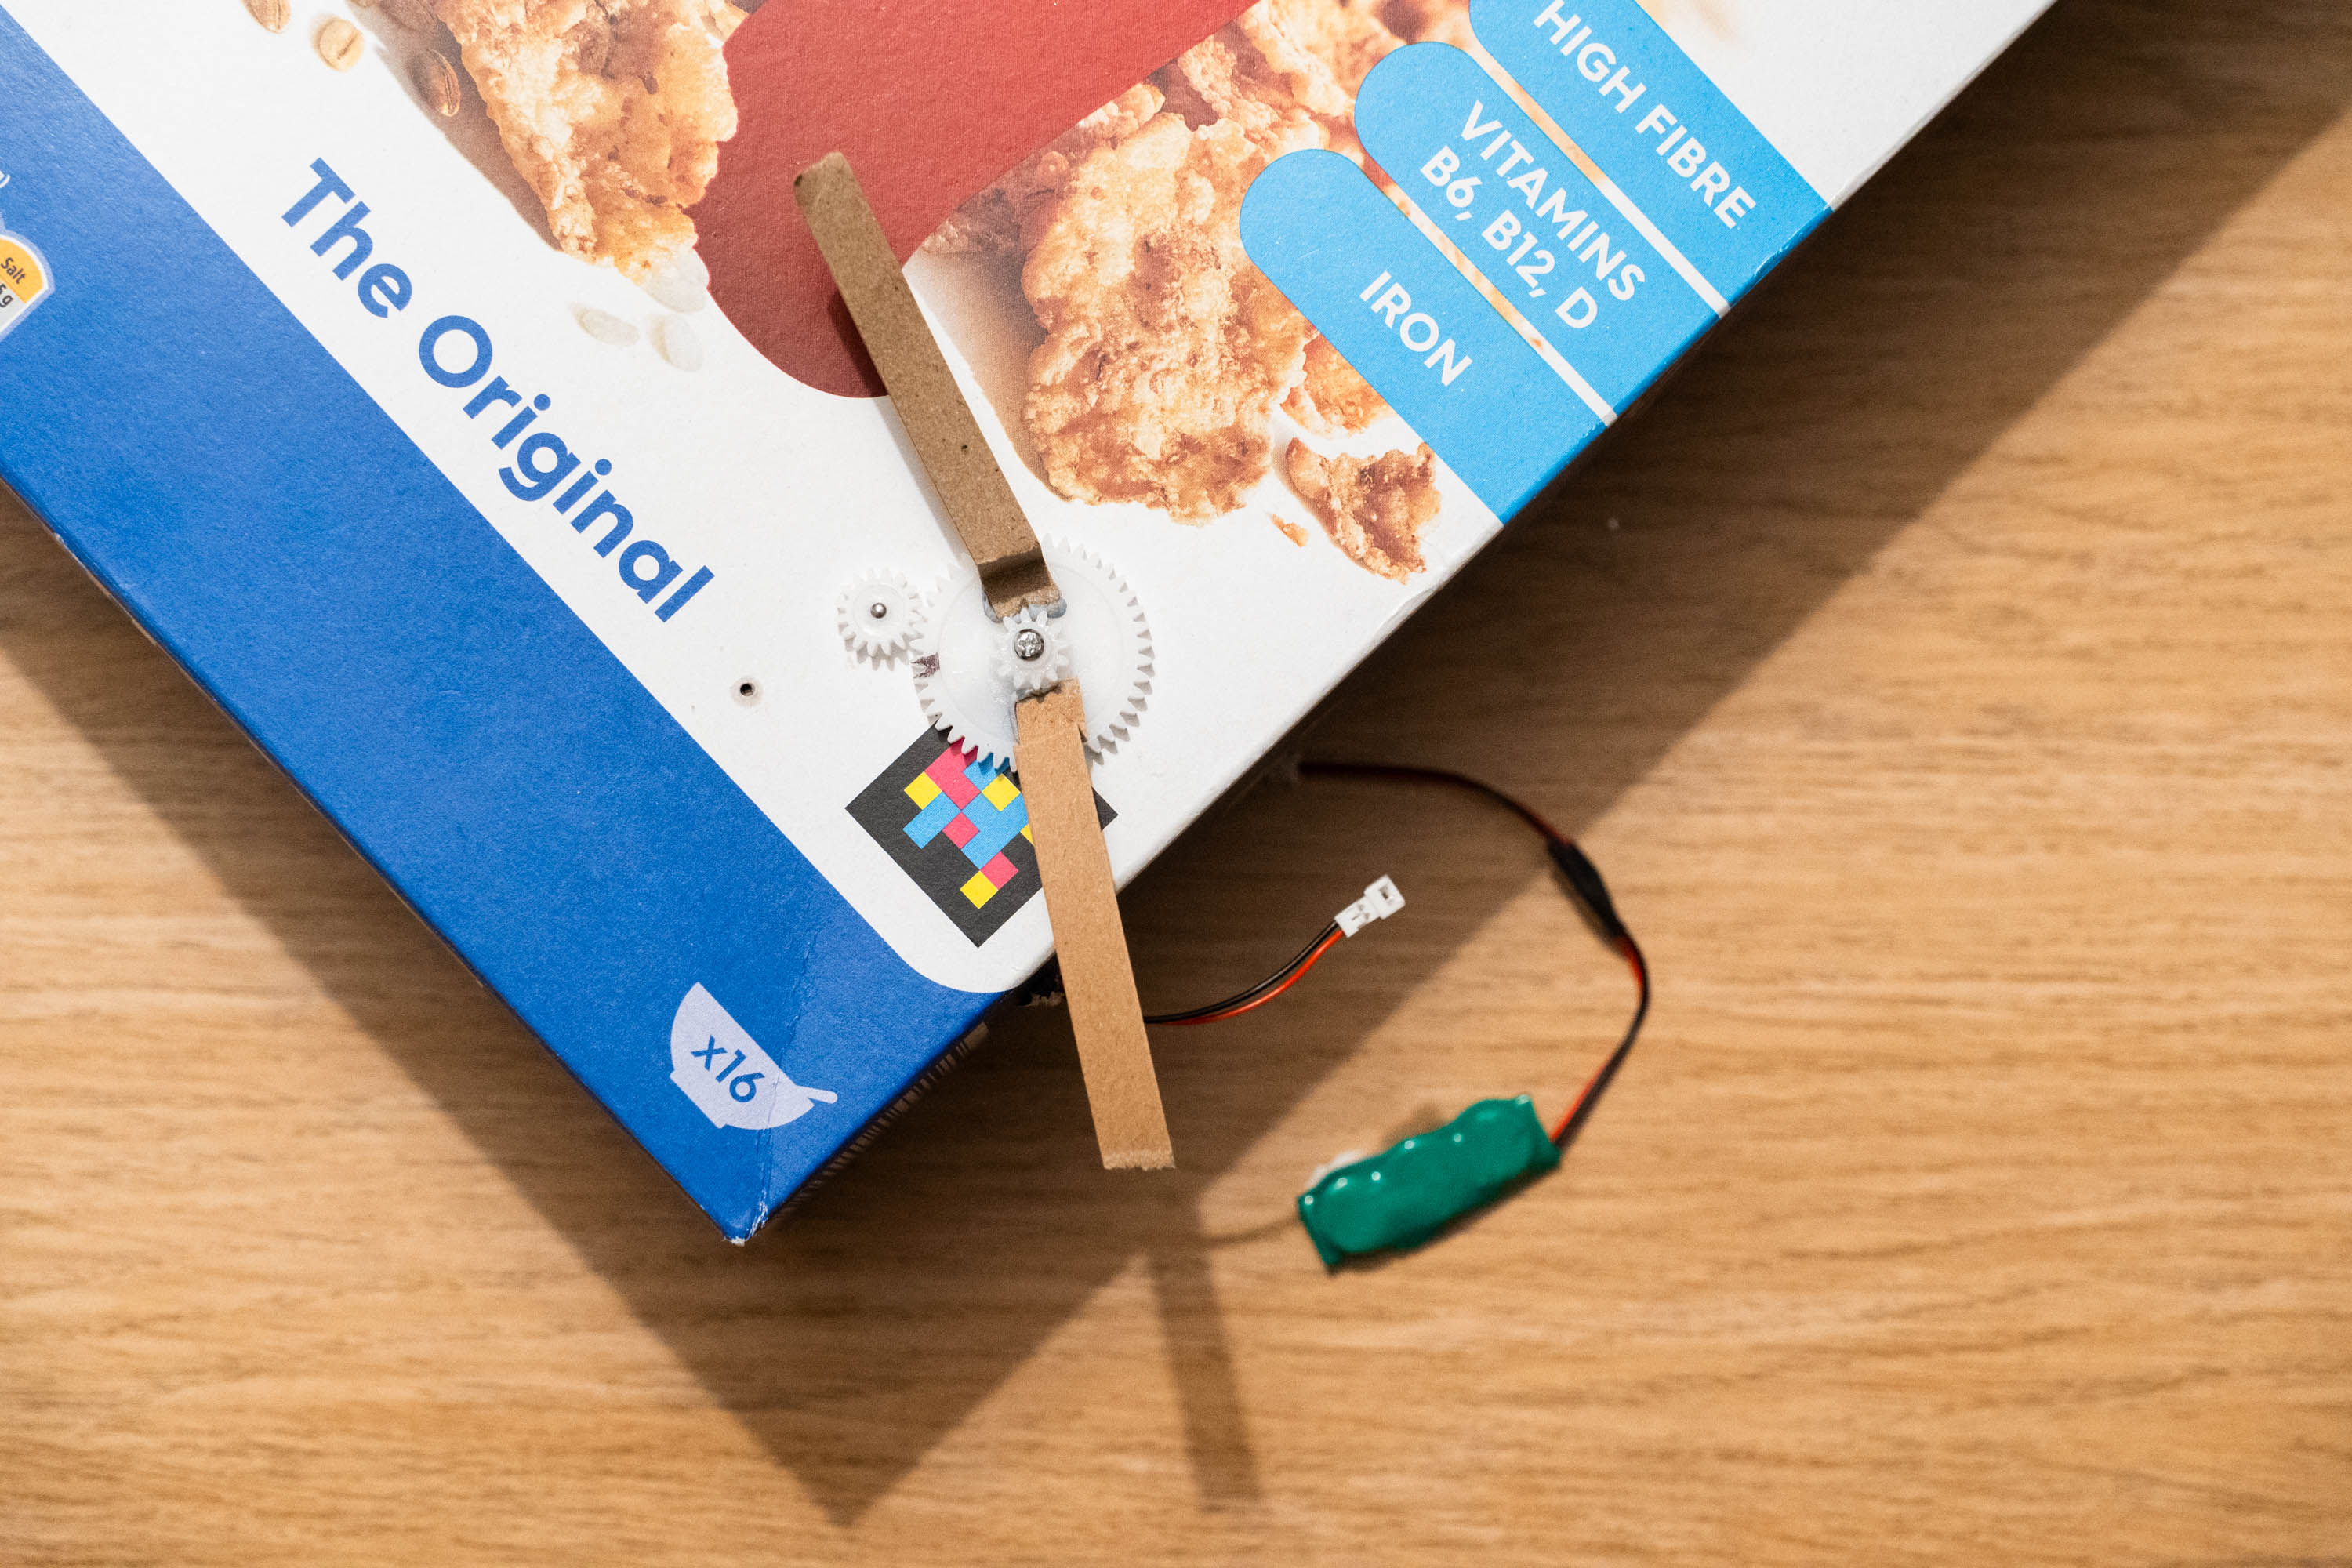
Experiment
In your kit you will find a cardboard piece and some marbles in Bag 2 to build your own lever!
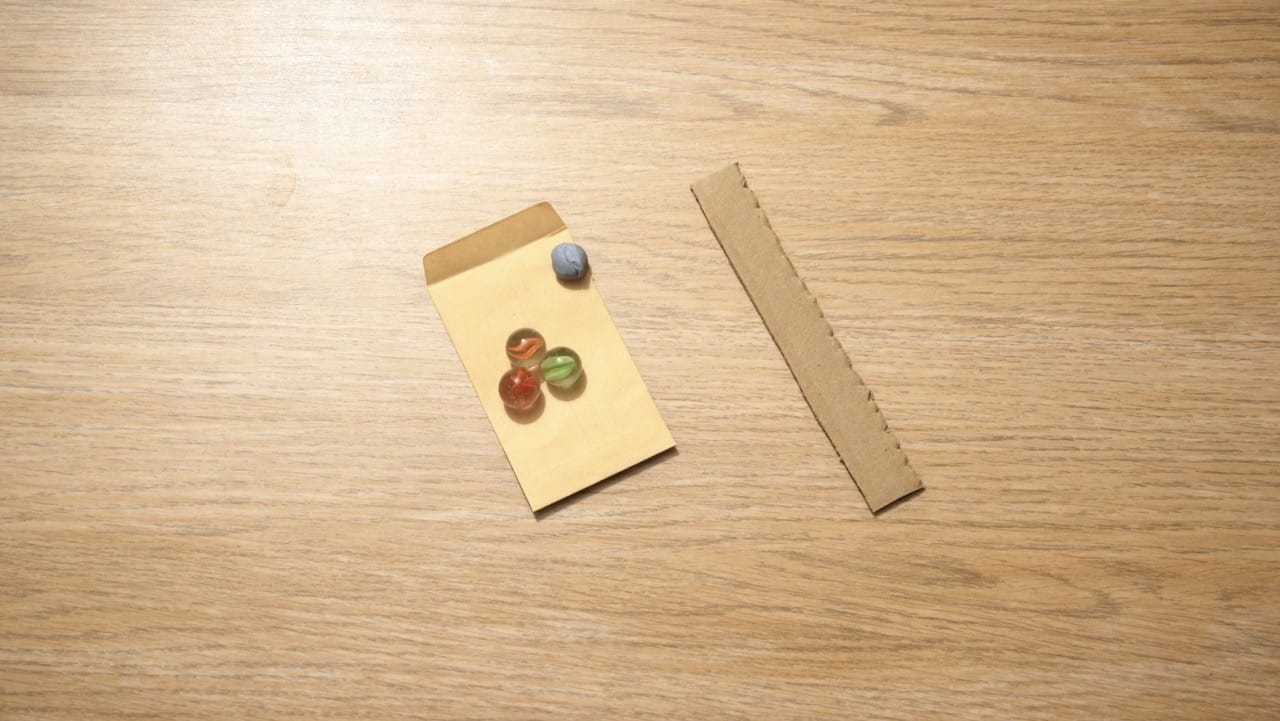
🎯 Objective
Build a cardboard seesaw to understand how levers work in real life! Use the template provided as well as any weights (marbles or coins) you can find at home to test how it works.
Use the seesaw to work out how much longer a side with one marble has to be to balance as side with two marbles.
Now that you know how much more force a longer lever can produce than a shorter one, how much more force would the torch handle apply than just turning the round base?
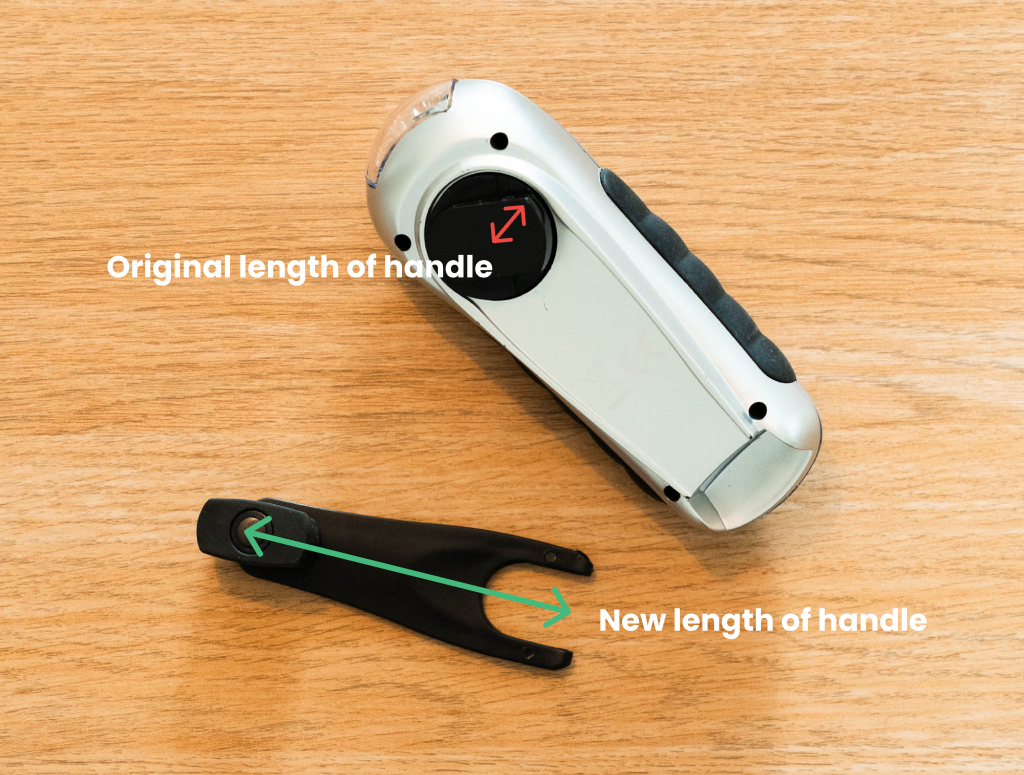
Repair
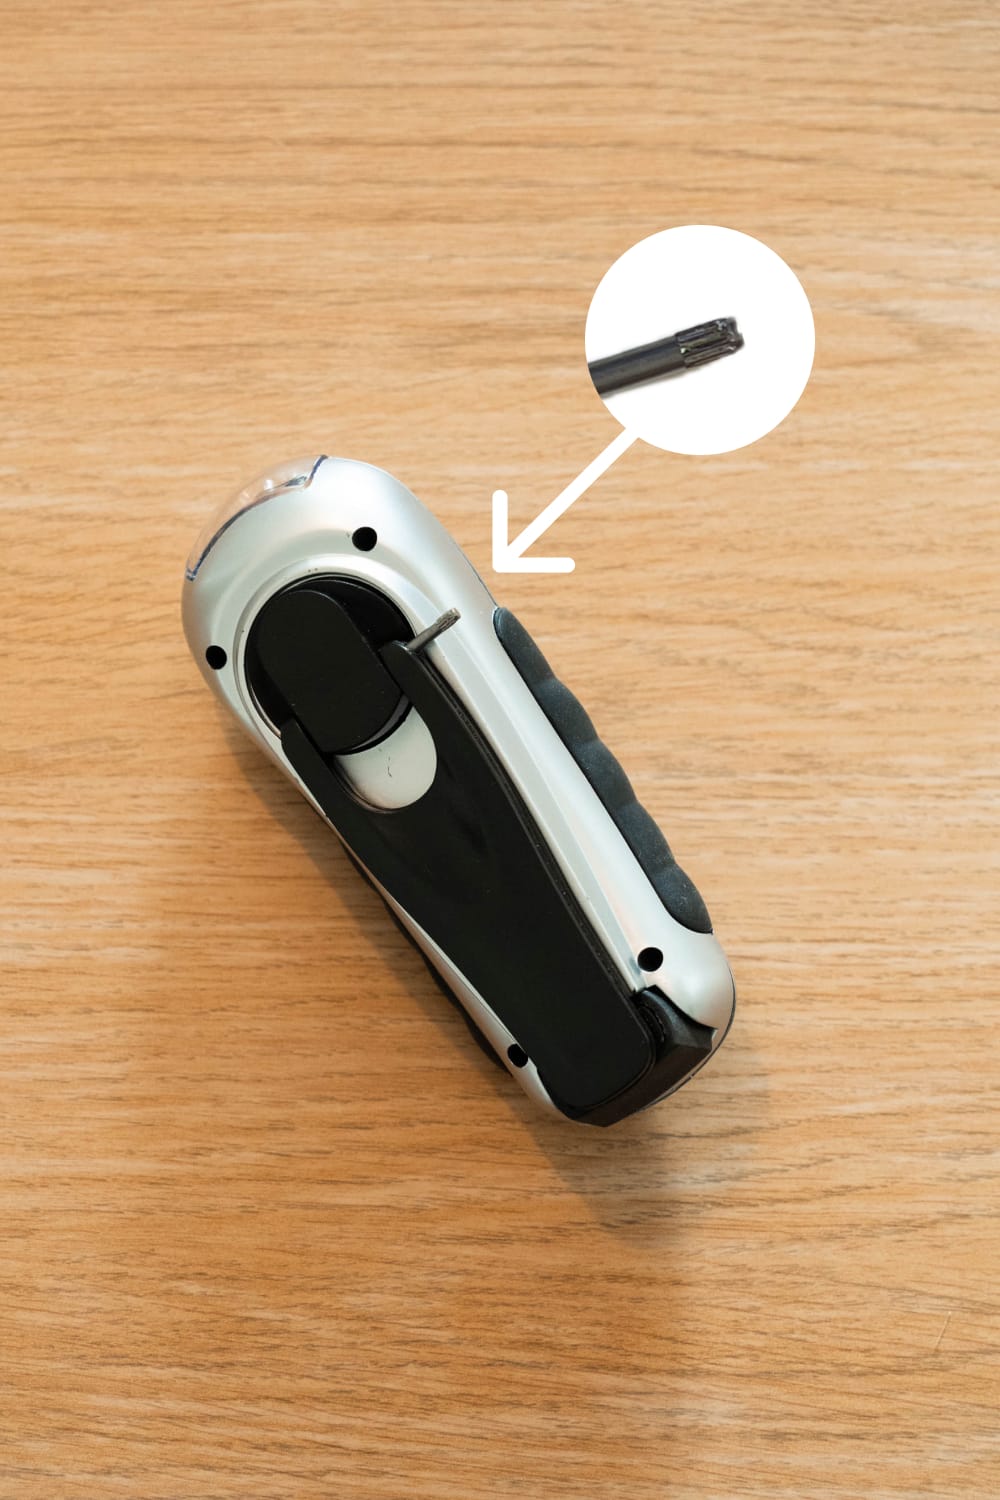
Using the handle parts in Bag 3, align the holes in the handle and base. Push the pin through the holes, smooth end first.
Test
Now that the handle is fixed, try winding the torch up again to power it.
Test
Usually, the energy created from turning the handle should be stored, meaning the light should stay on. Let's find out why this isn't the case here!
Test
From watching the video, tap why you think the light doesn't stay on when you stop winding it up!
Disassemble
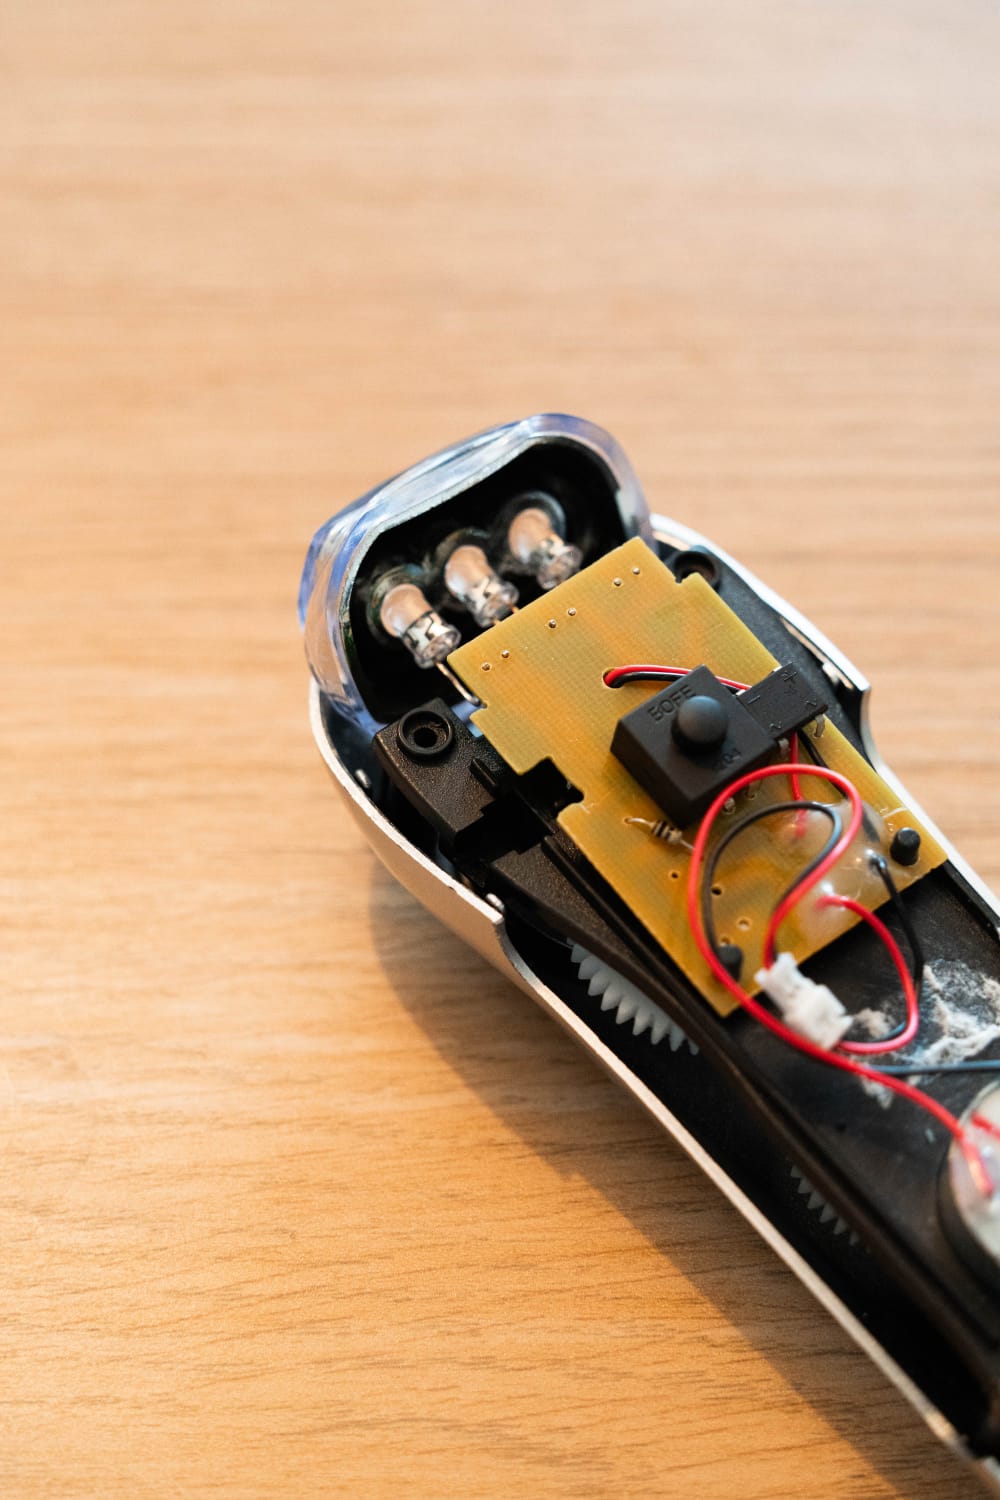
Lay out all the components, leaving the gears and handle in place.
Disassemble
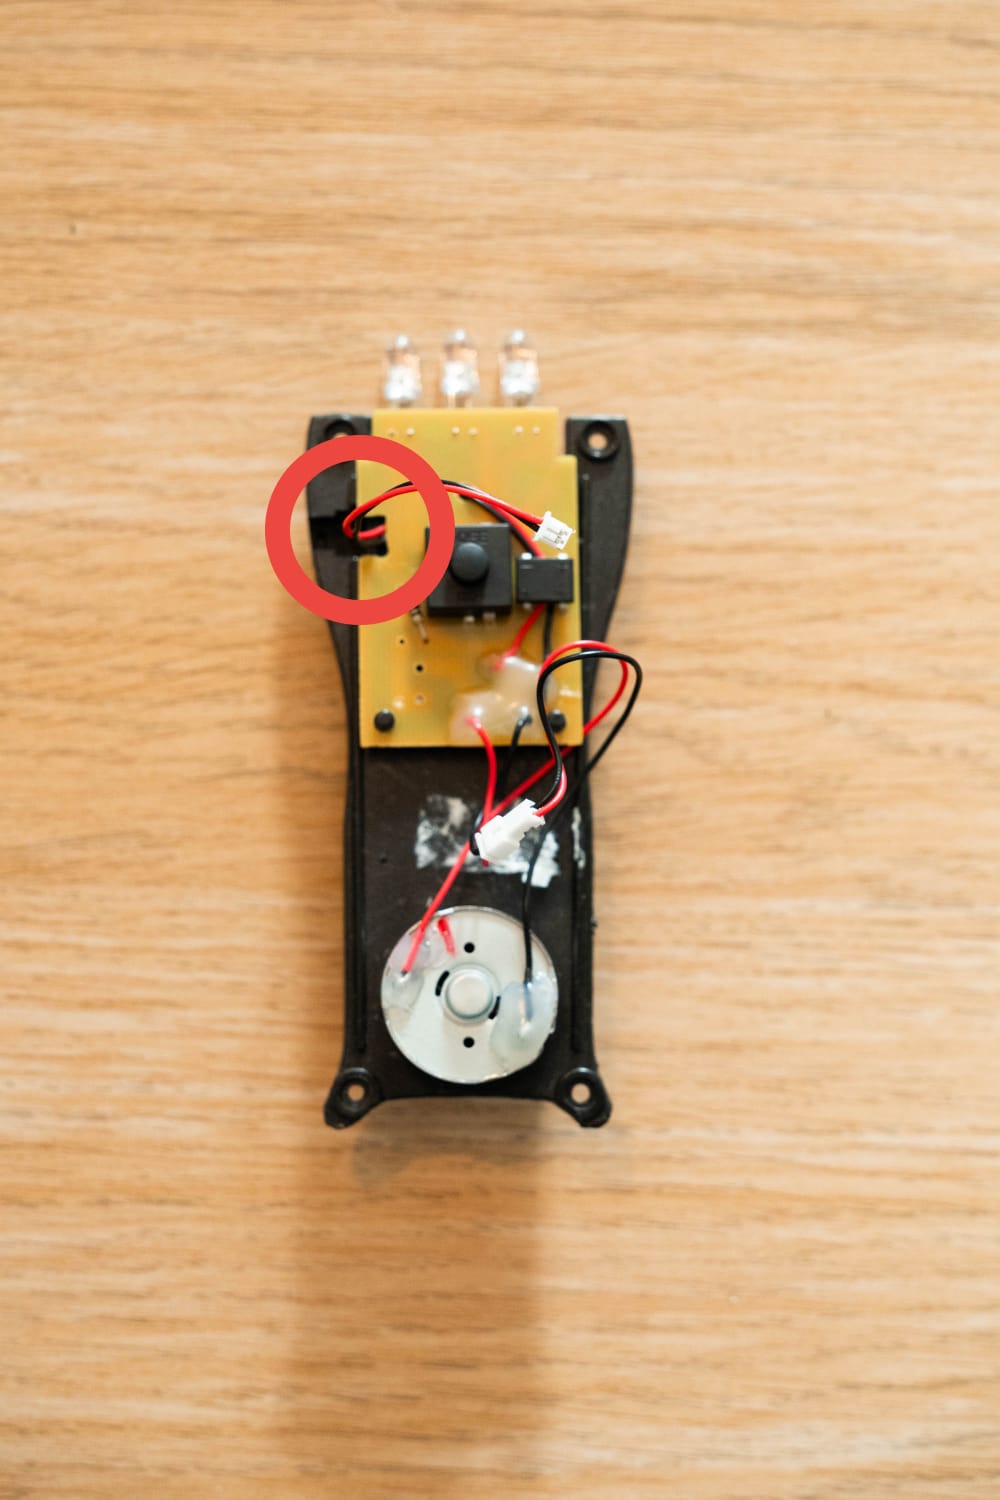
Take a look at the green circuit board. You should find some battery connector wires hidden behind it.
Repair
Thread the battery wires through the slot in the board and put it back in place, green side facing down. The wires should be sticking out the front.
Repair
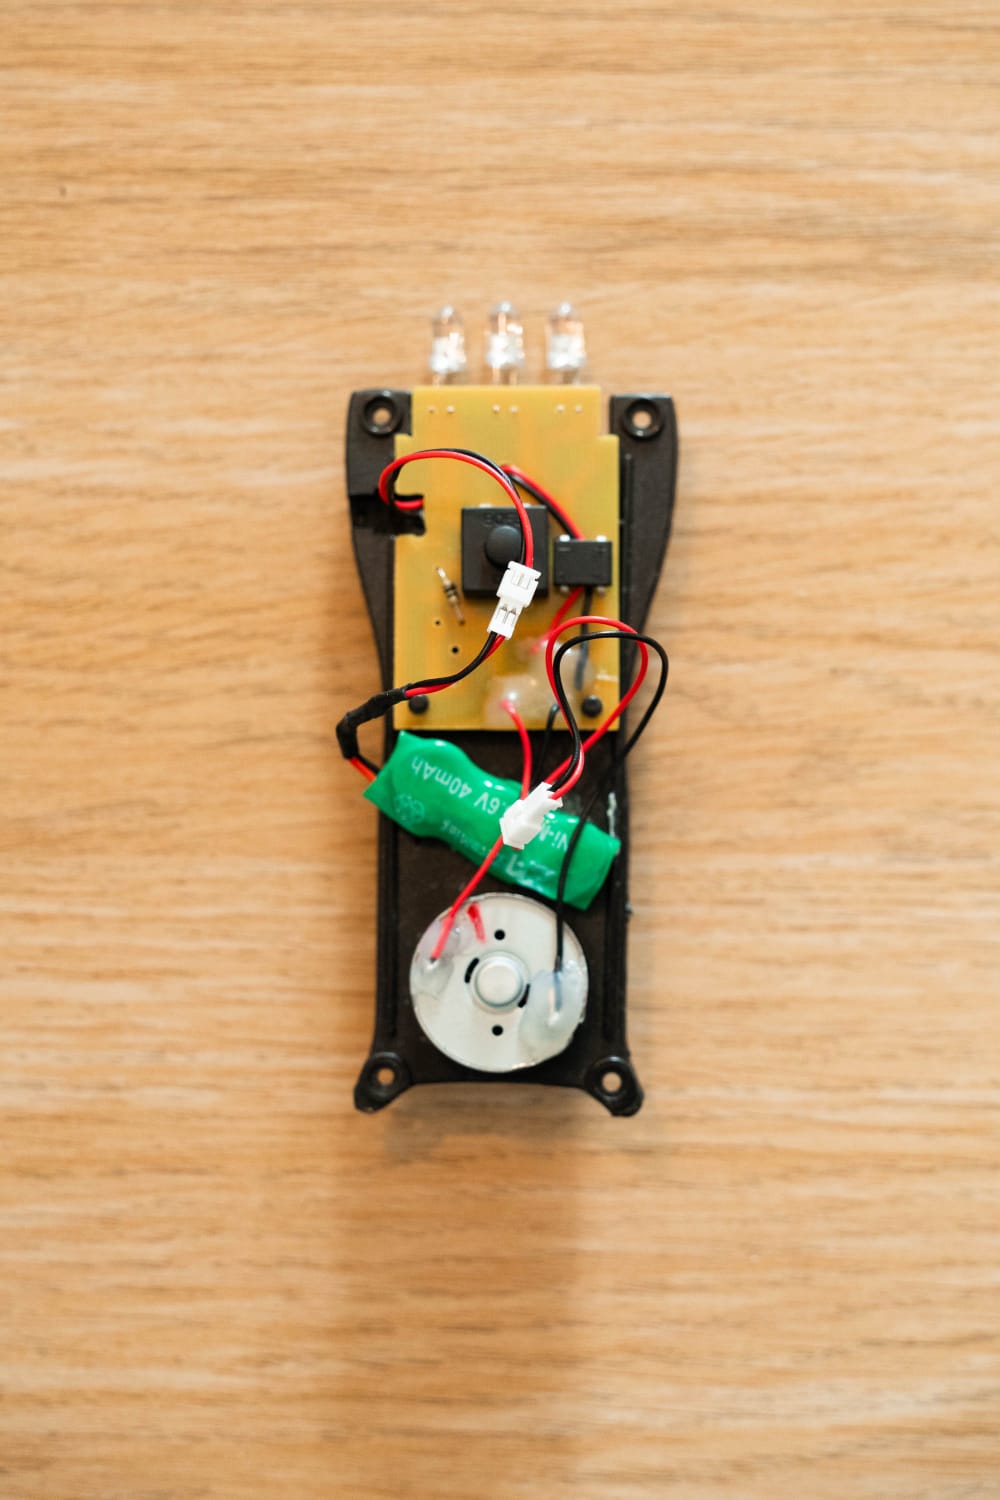
You have been given a battery cell pack in Bag 4. Connect this to the battery wires, matching up the red and black wires with each other.
Reassemble
Line up the component board with the gear train, making sure the generator gear is connected and the screw holes line up. Reattach the light reflector too.
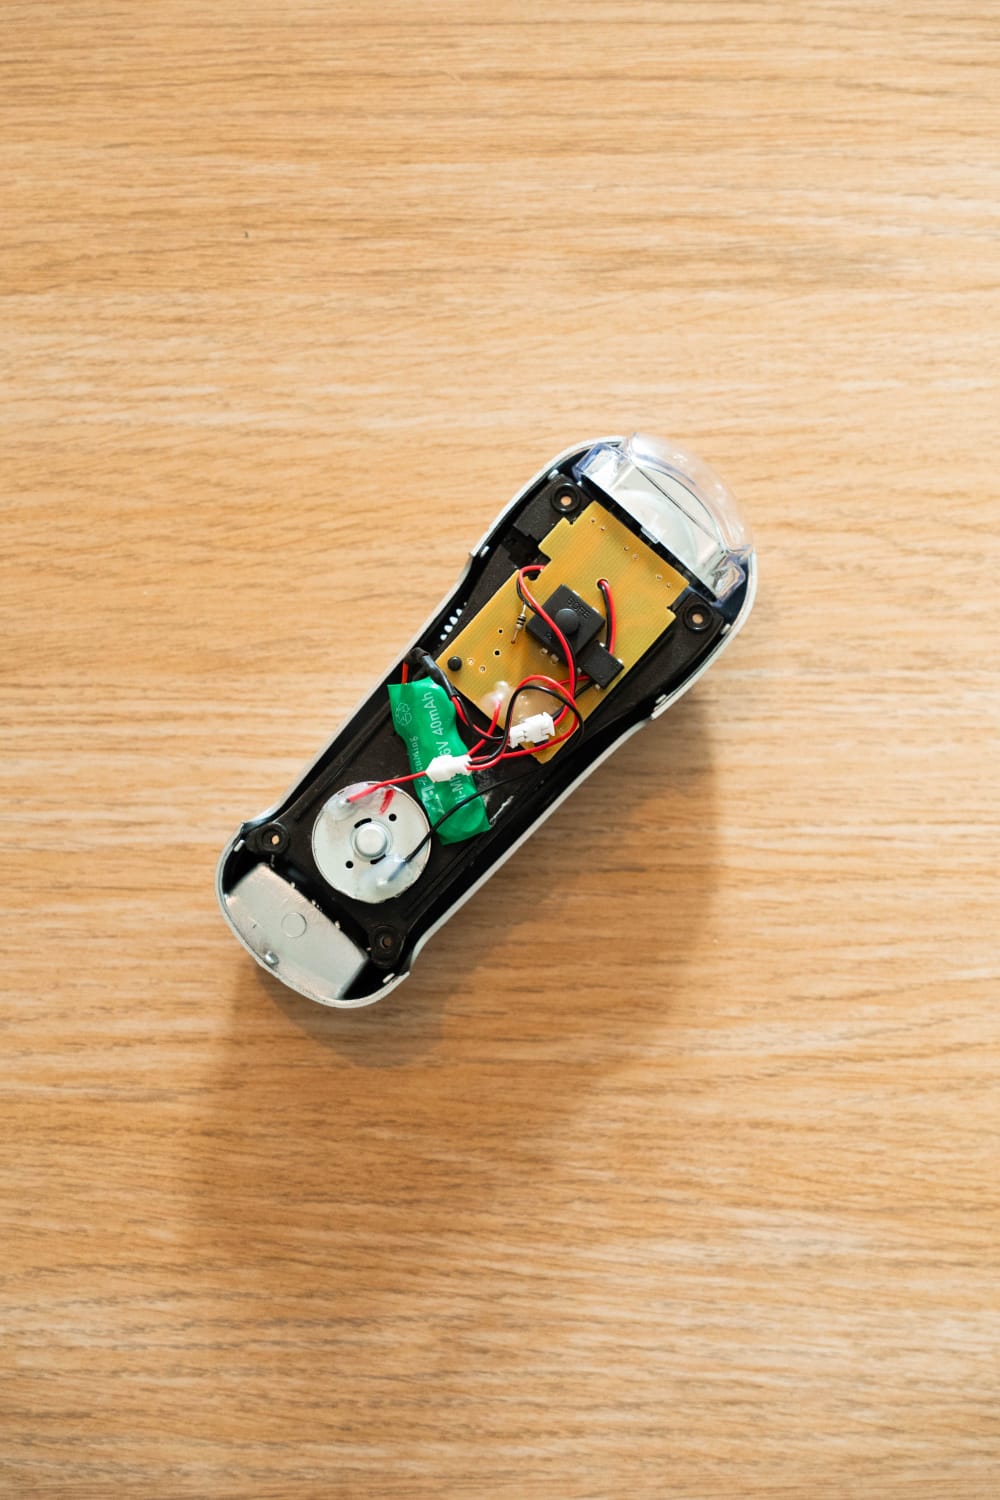
Reassemble
Place the front cover back on, making sure all the wires are tucked in, then screw the two halves back together.
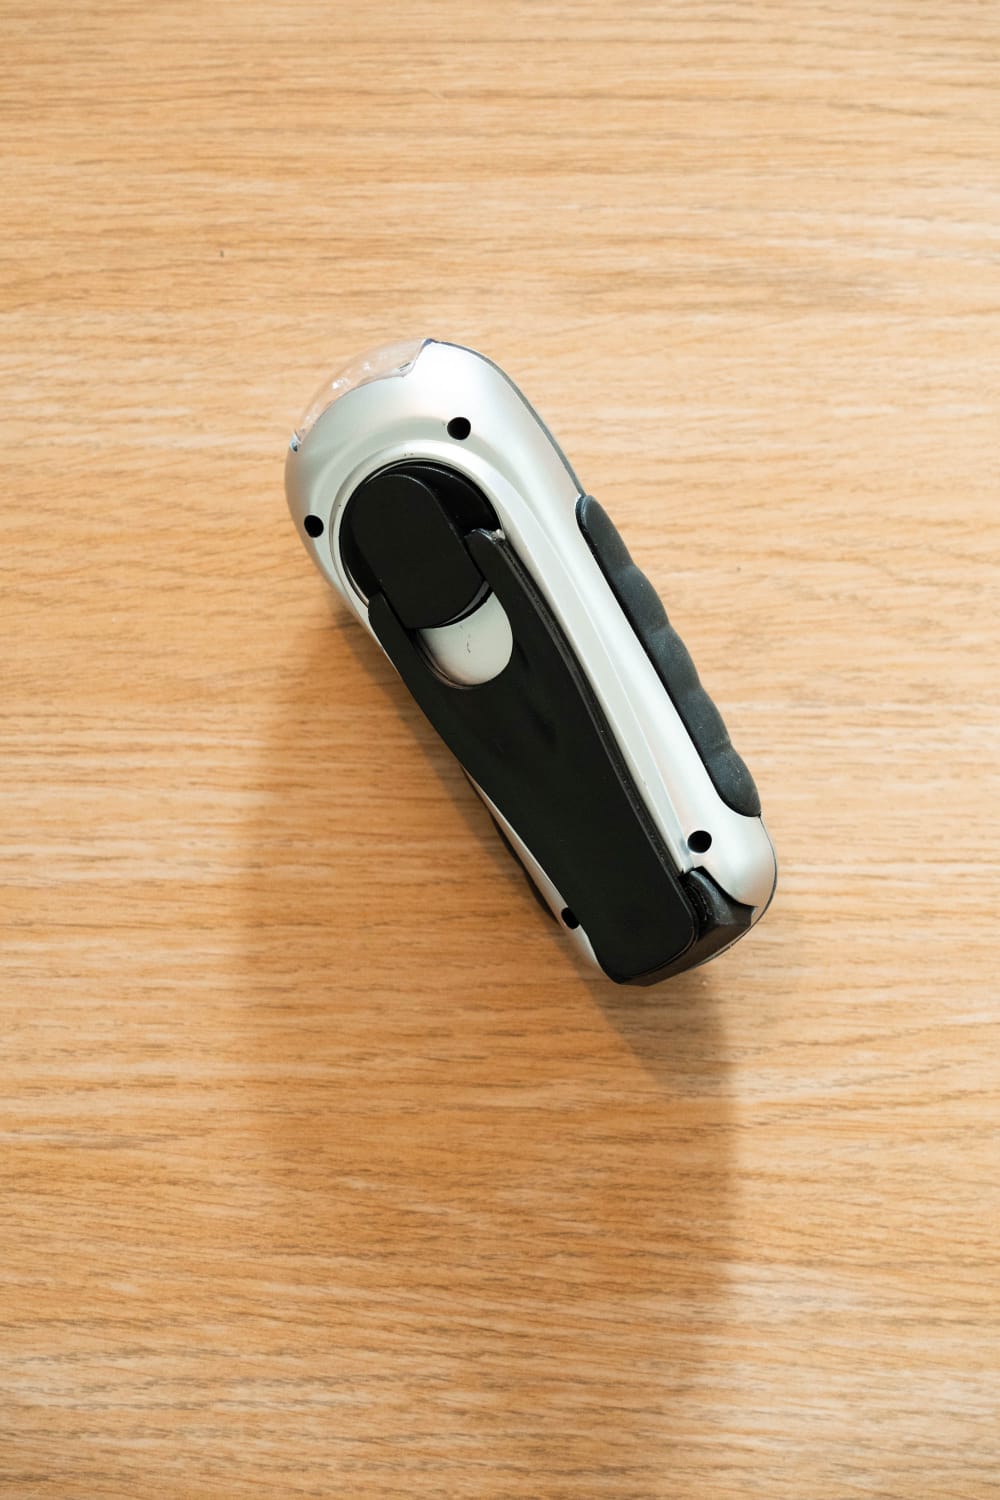
Test
Switch on the torch and test to see if it works and stays on!
Now that you've finished the repair, you can explore and get creative with all the bonus challenges. Some parts in Bag 5 may help!