


Repair #1:
The wind-up mechanism

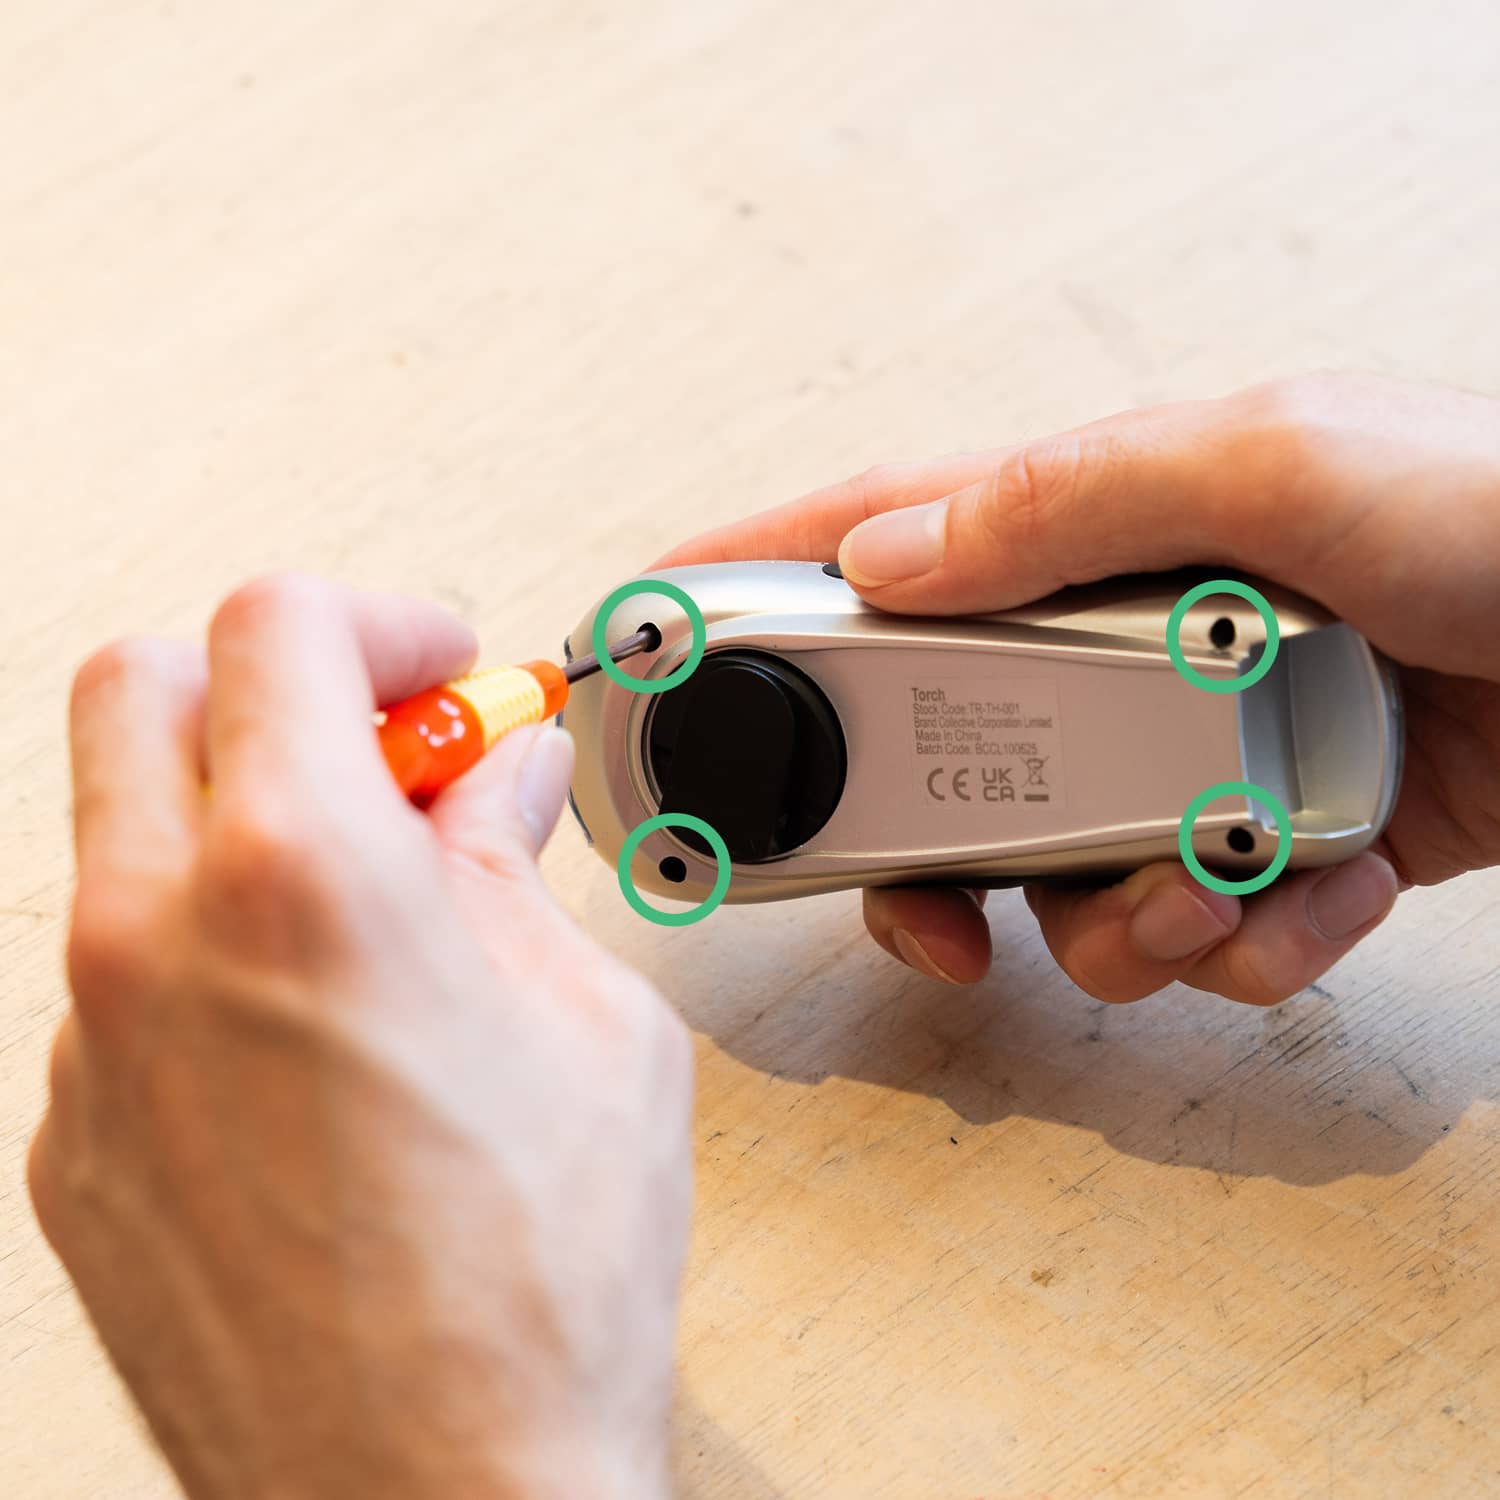
Undo the four screws holding the torch together
Step 1/9


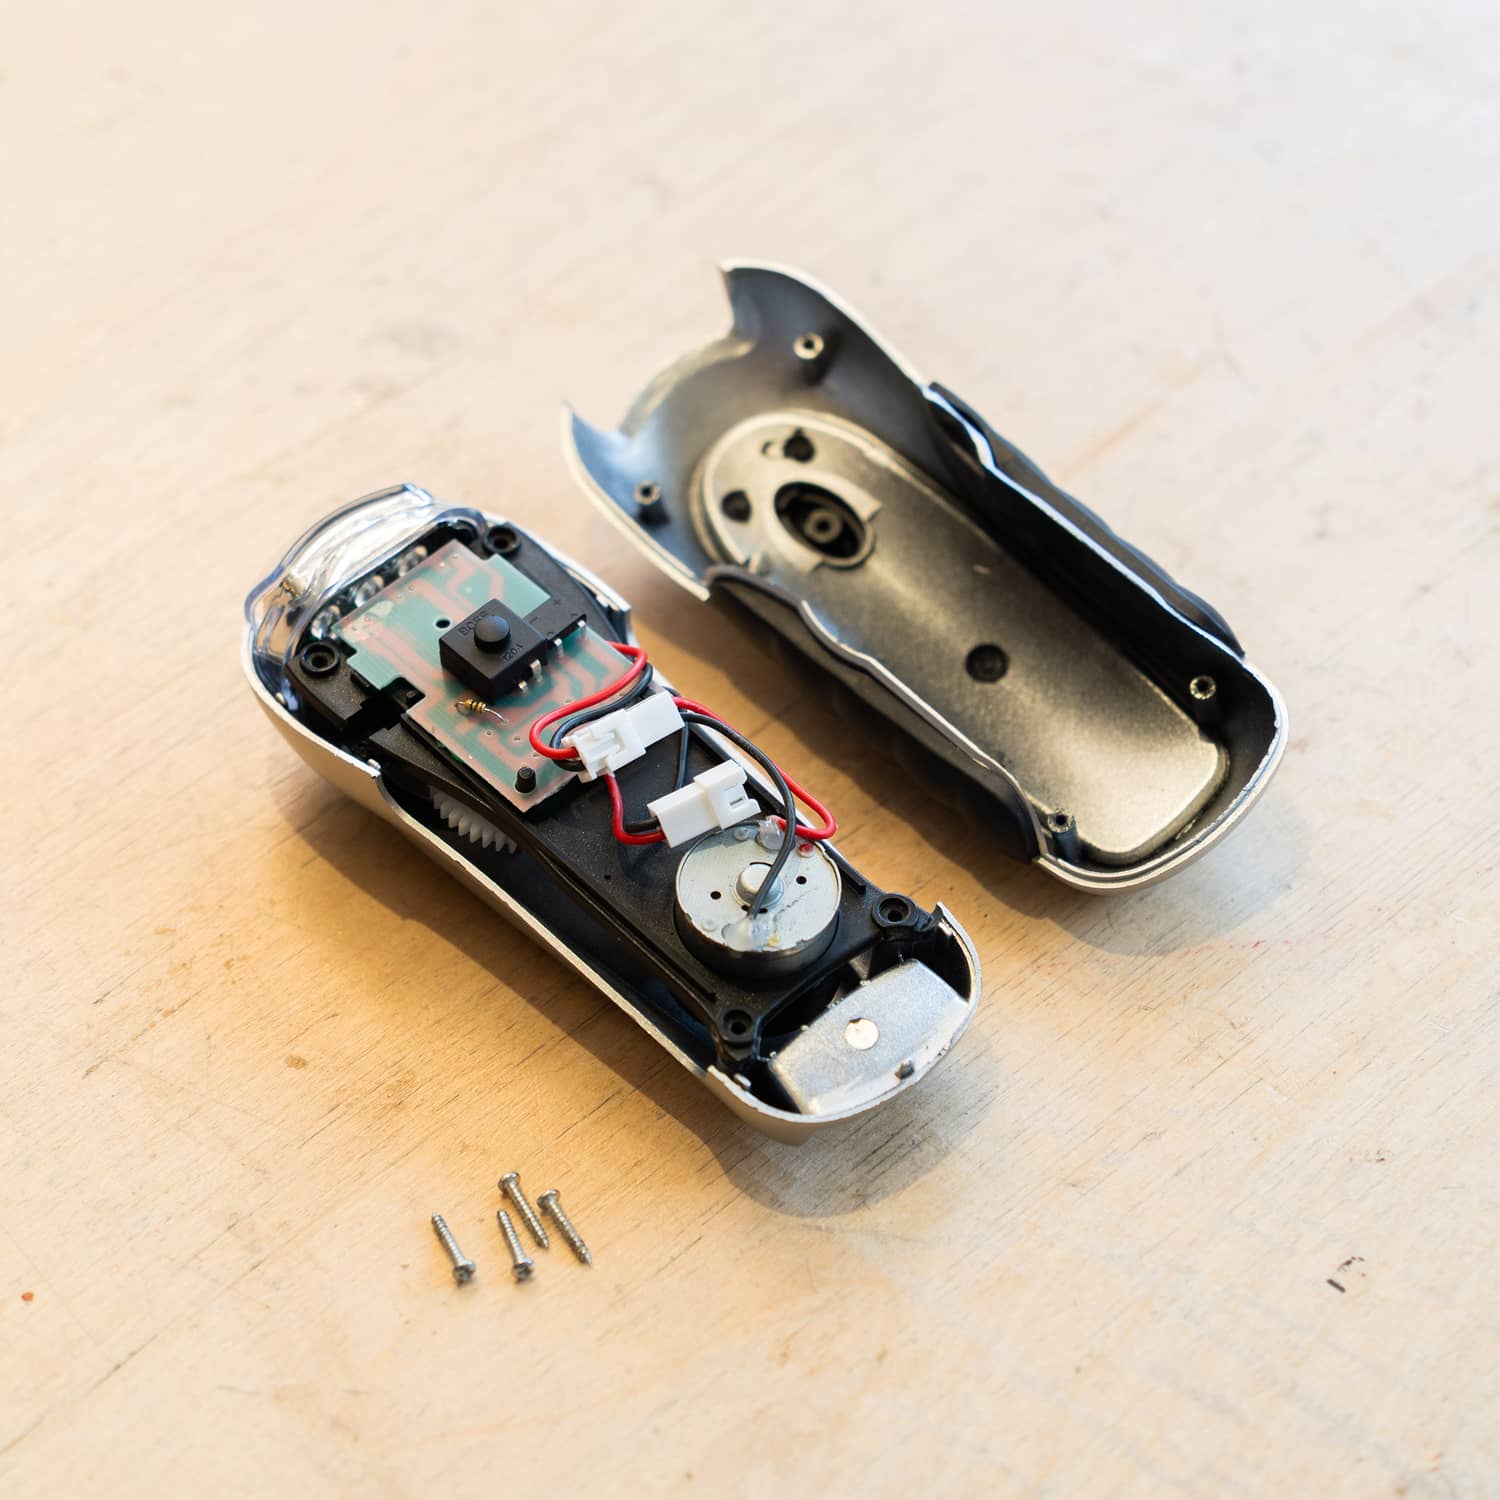
Pull apart the two halves of the torch
Step 2/9
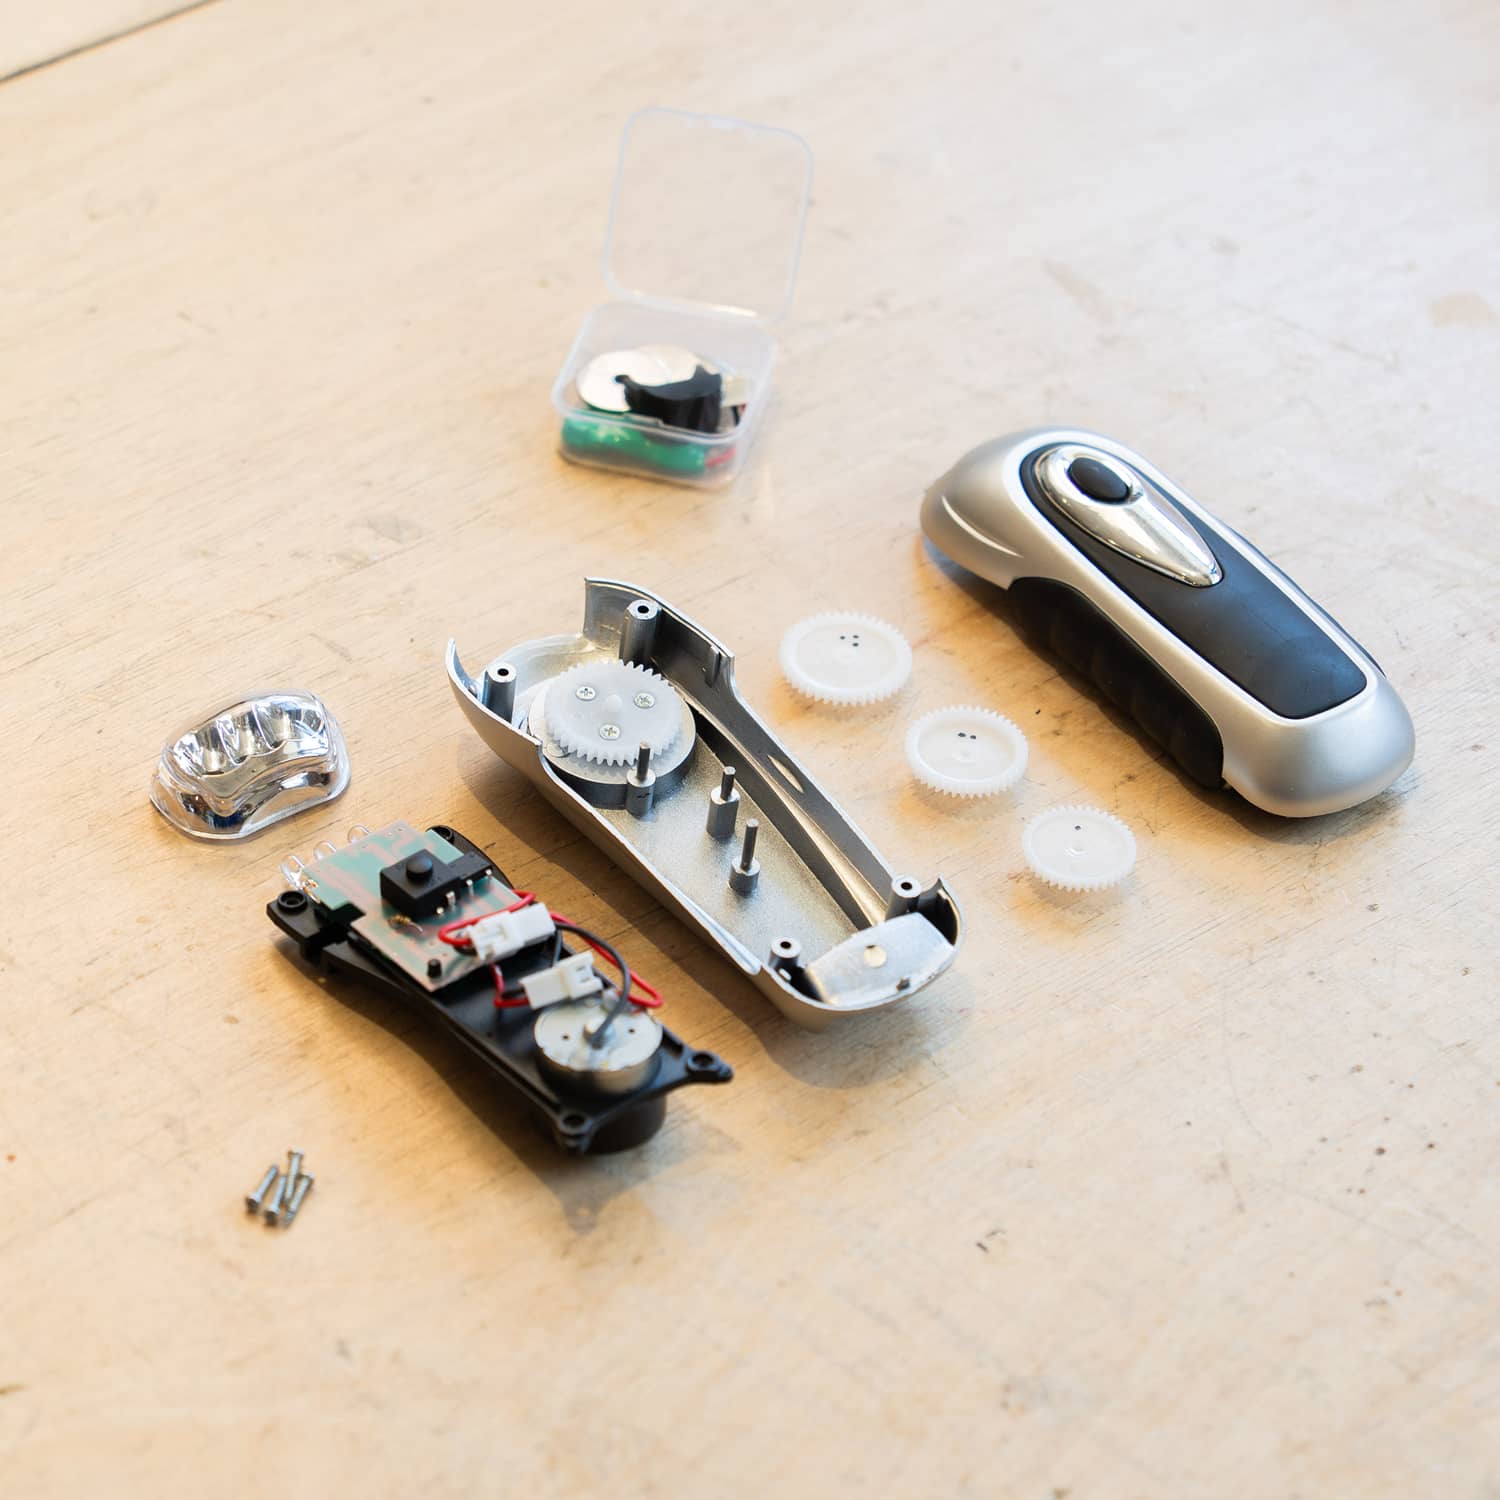
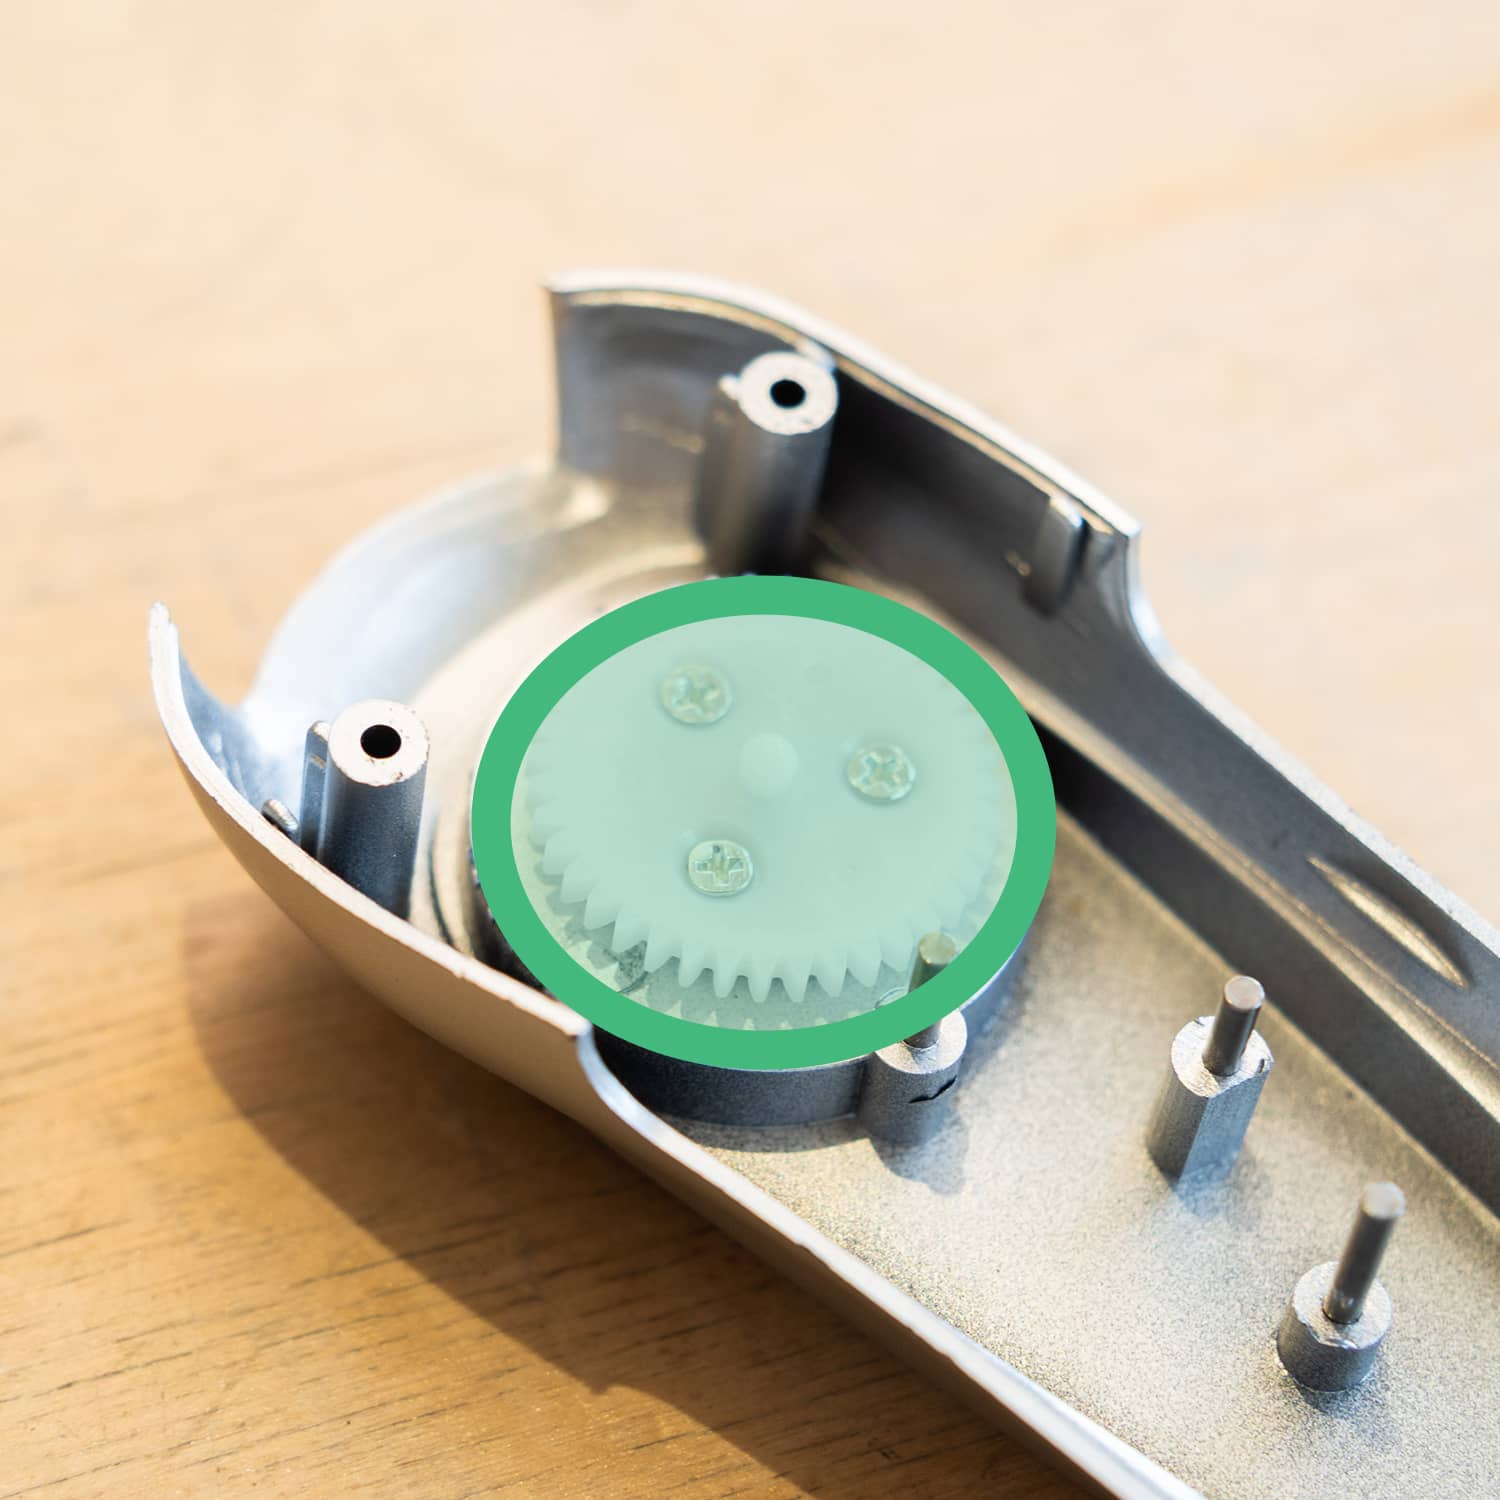
Remove the LED casing, the black components board, and loose gears and lay them out
Retrieve the spare third loose gear from the components plastic case.
Step 3/9
Let's learn about gears to find out why we need them in the wind-up torch.
📹 How do gears work?
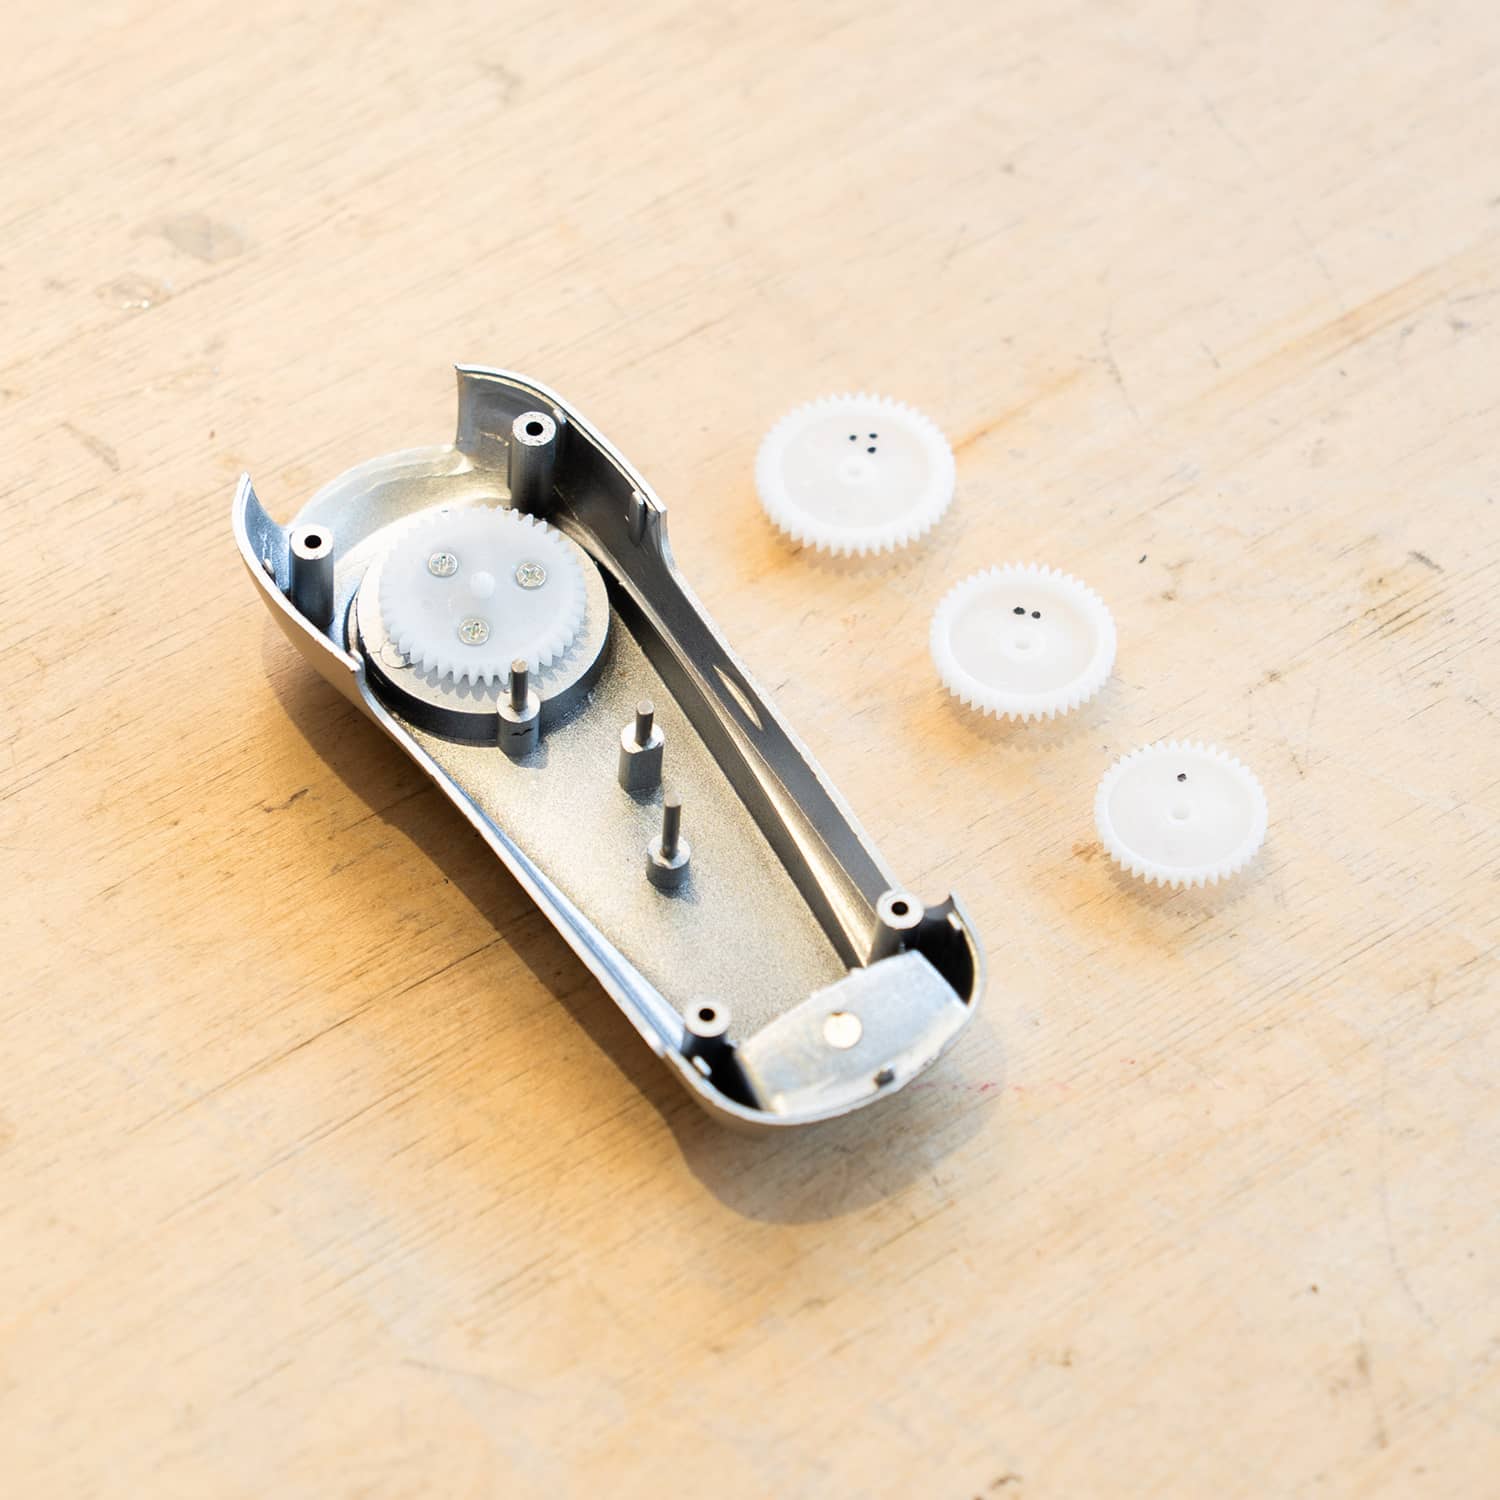
Work out the correct configuration of the gears
You have three gears to fit onto the three spindles in the wind-up torch. Each gear is slightly different, and they'll only fit in one configuration to transfer motion from handle to generator.
Step 4/9
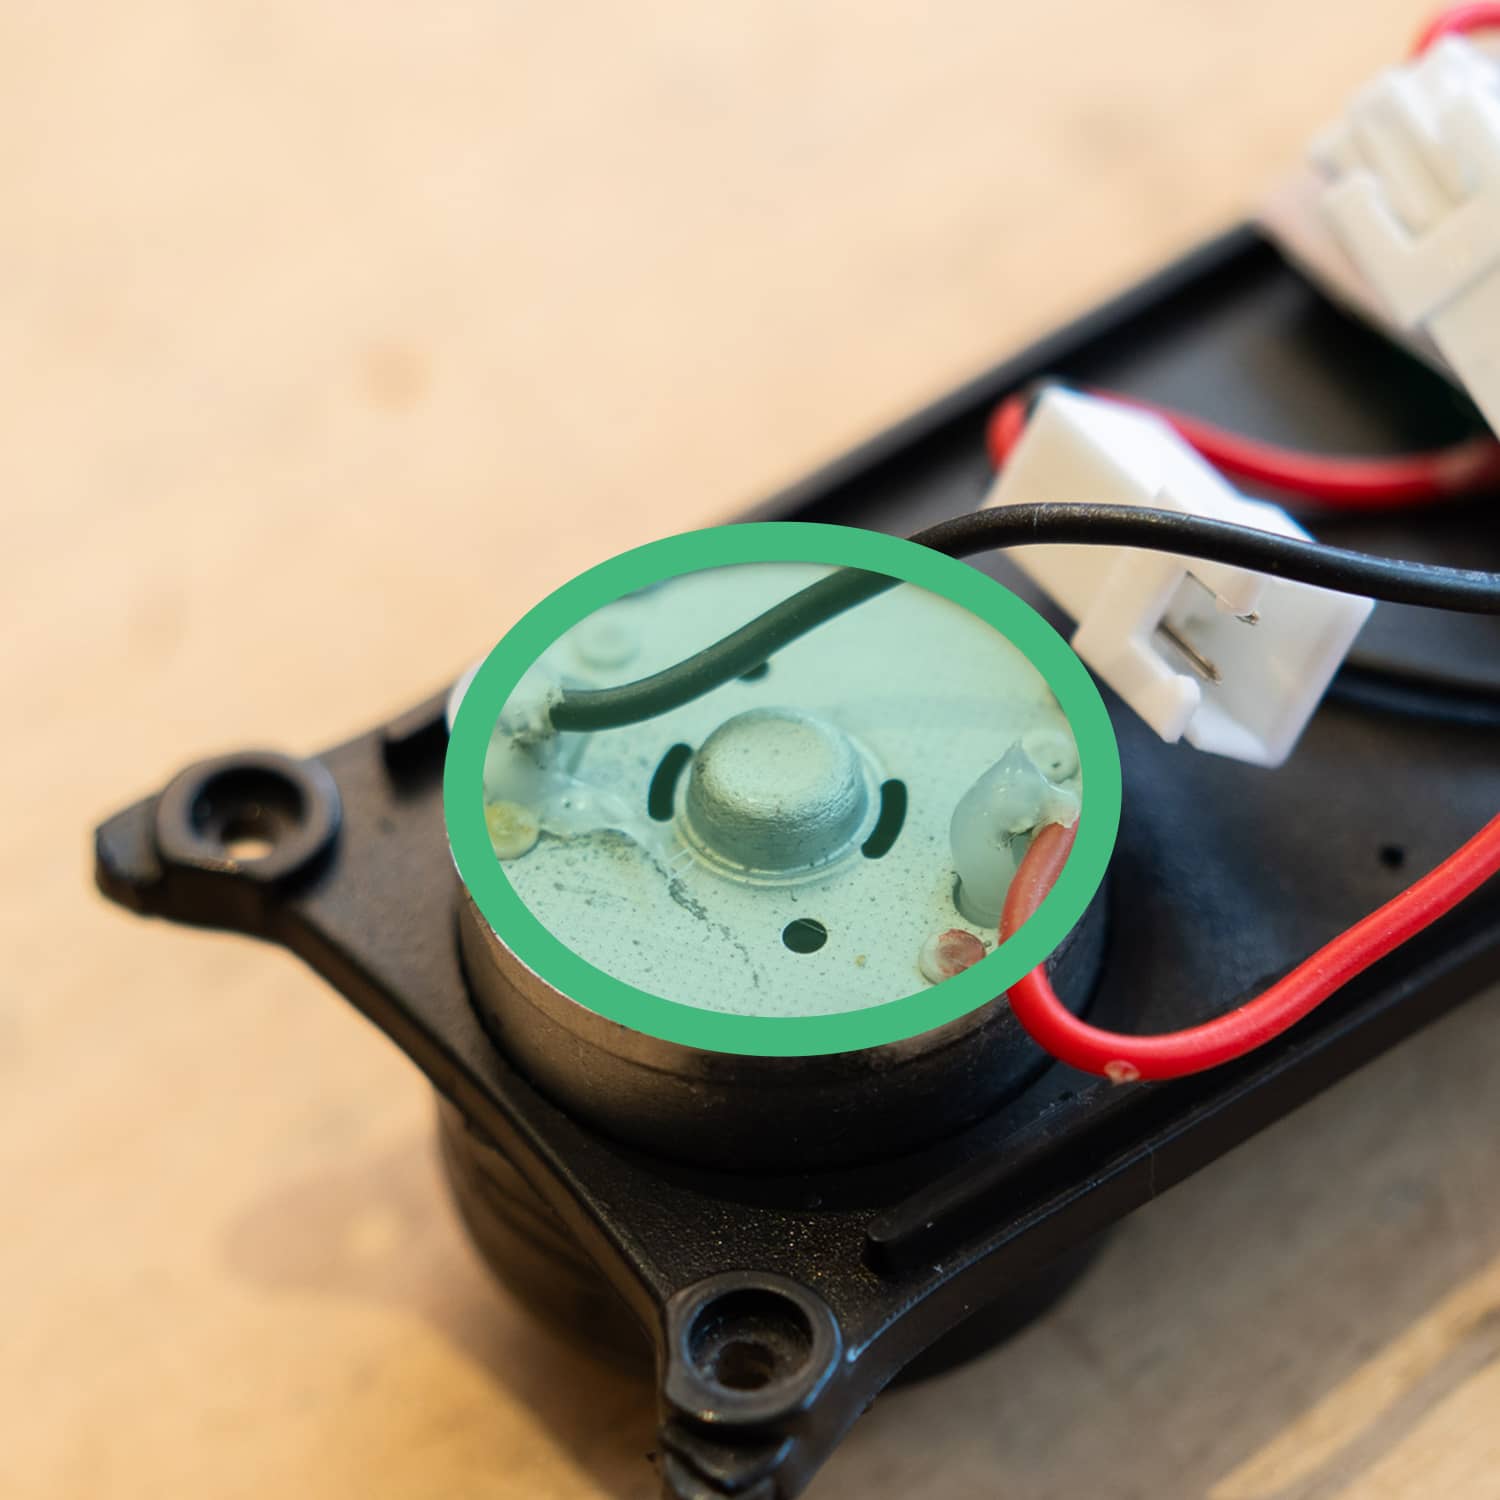
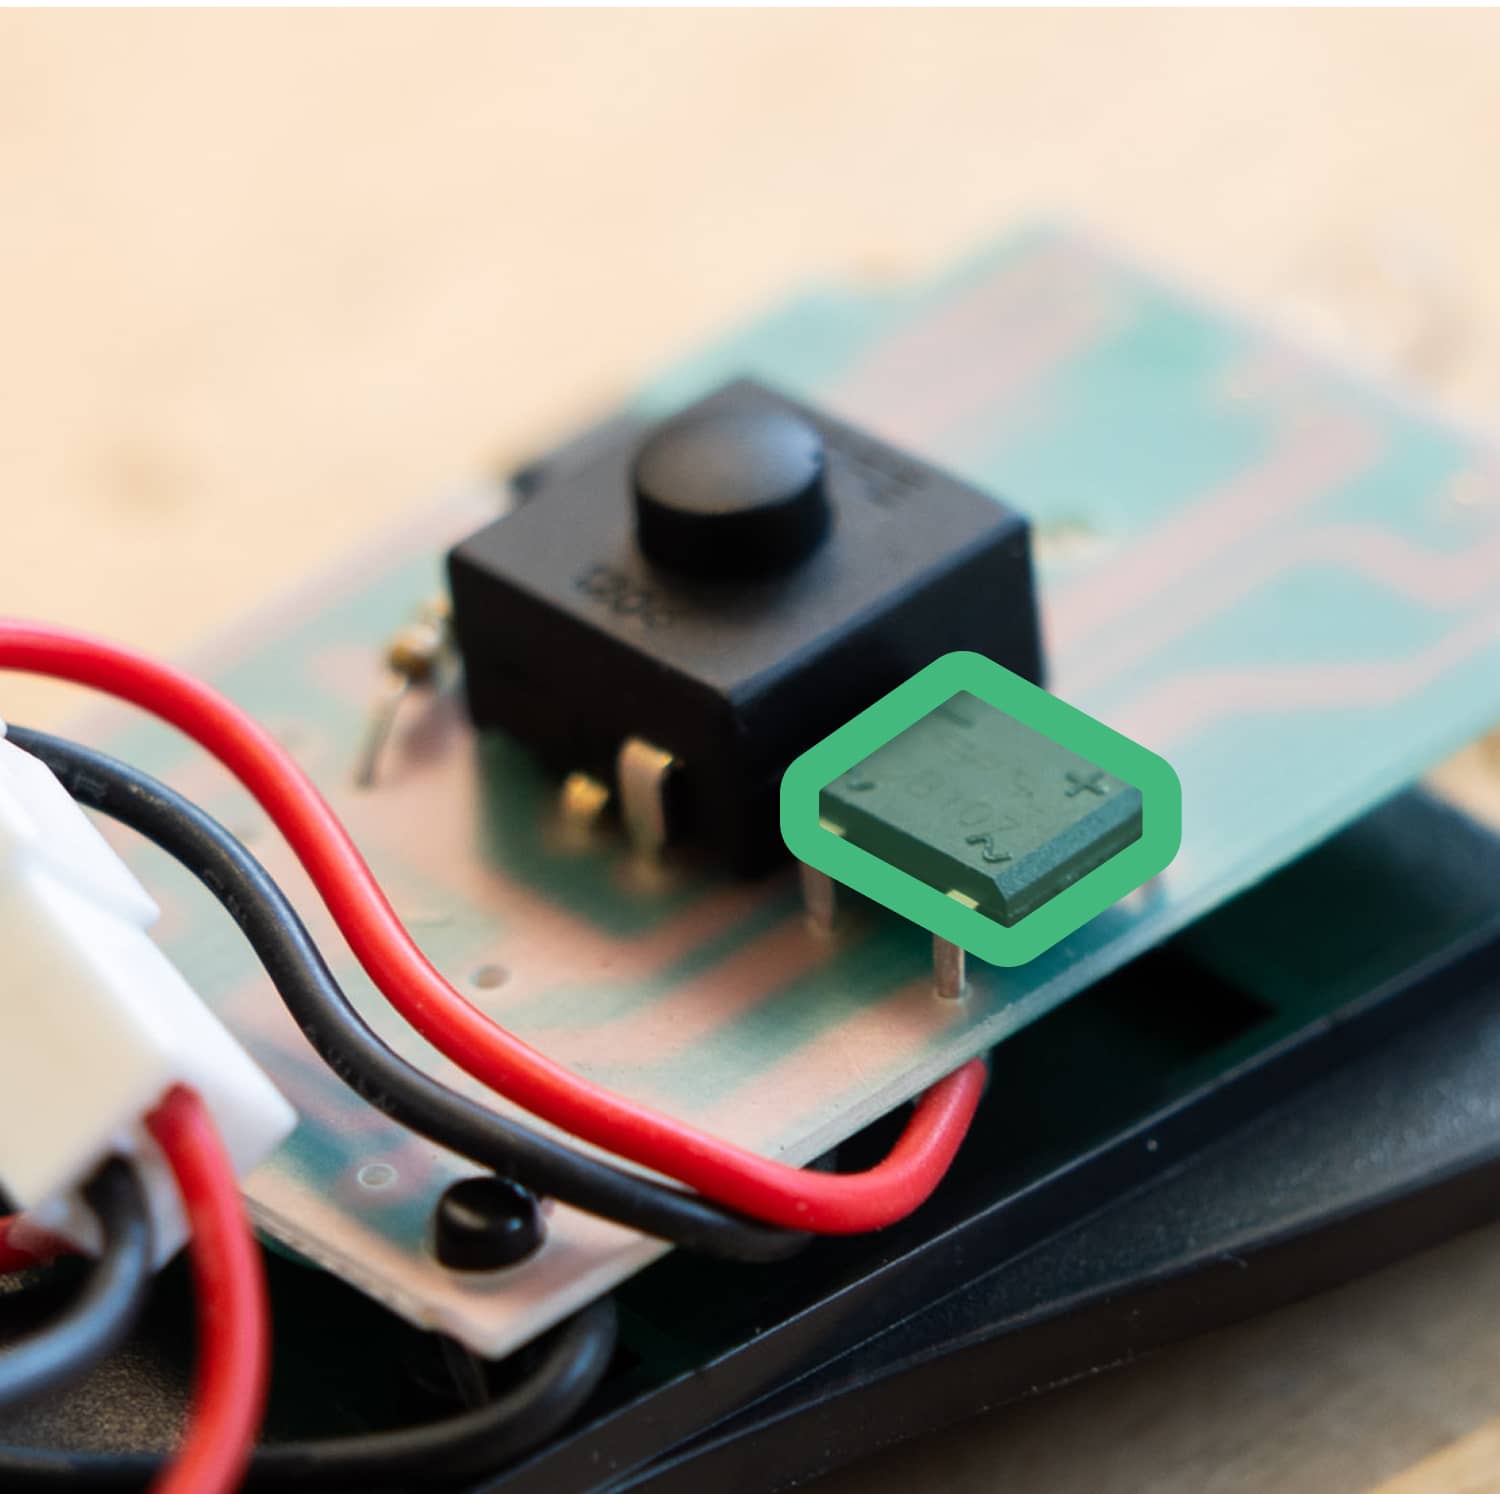
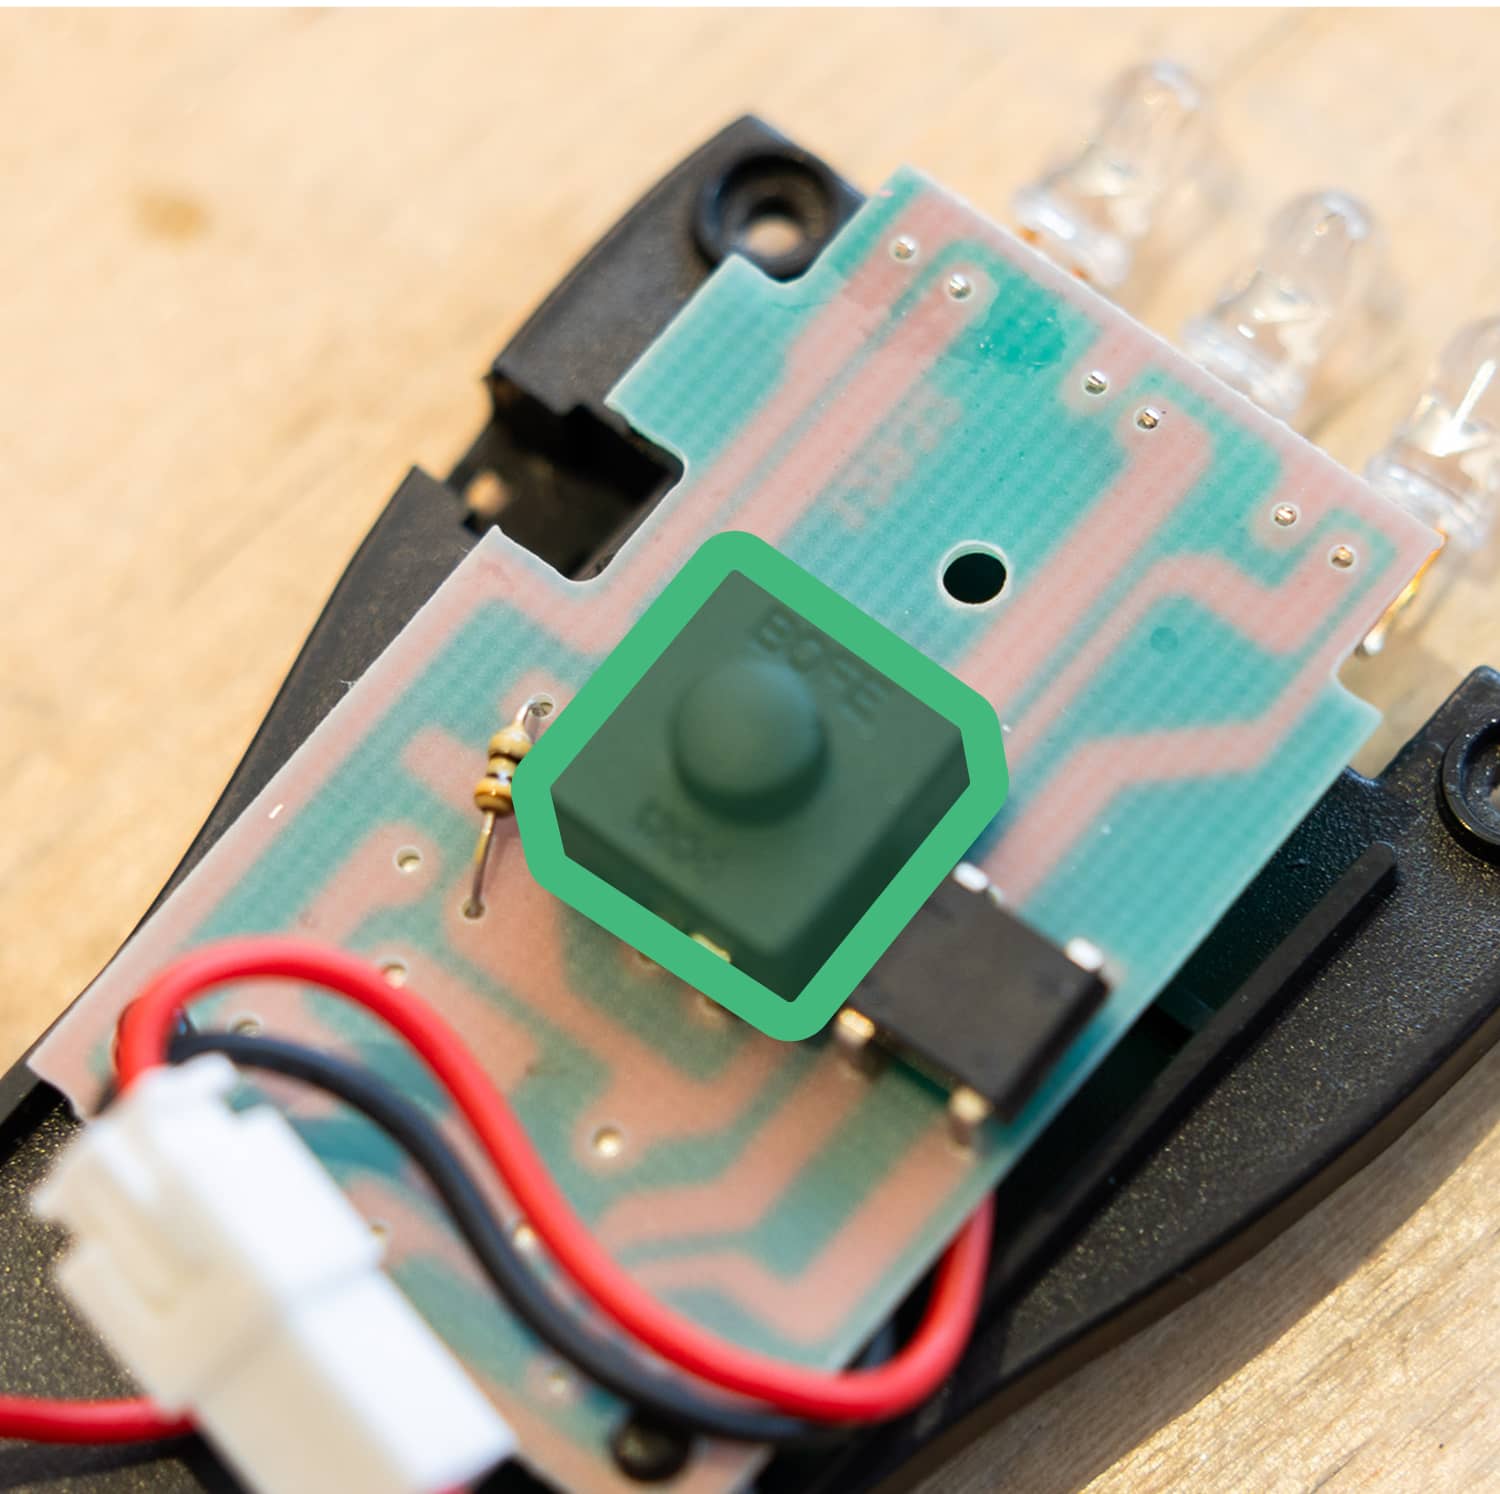
🧐 Can you spot the 'generator'?
You are about to connect the gears to a part called a generator to generate power. Pick the image you think is the generator!
😅 Try again
That's a gear! It's what spins inside the torch to turn the generator.
✅ Correct!
You got it! Now let's find out how generators work.
😅 Try again
That's the rectifier! It's what makes sure the battery charges no matter which way the handle turns.
😅 Try again
That's the button! It's what you push down on when you press the 'on' button on the casing.
Let's learn about how the generator powers the torch.
📹 How do generators work
Place the component board onto the gear train
The gear attached to the generator needs to line up with the end of the gear train. Make sure the screw holes line up and the gears are connected!
Step 5/9
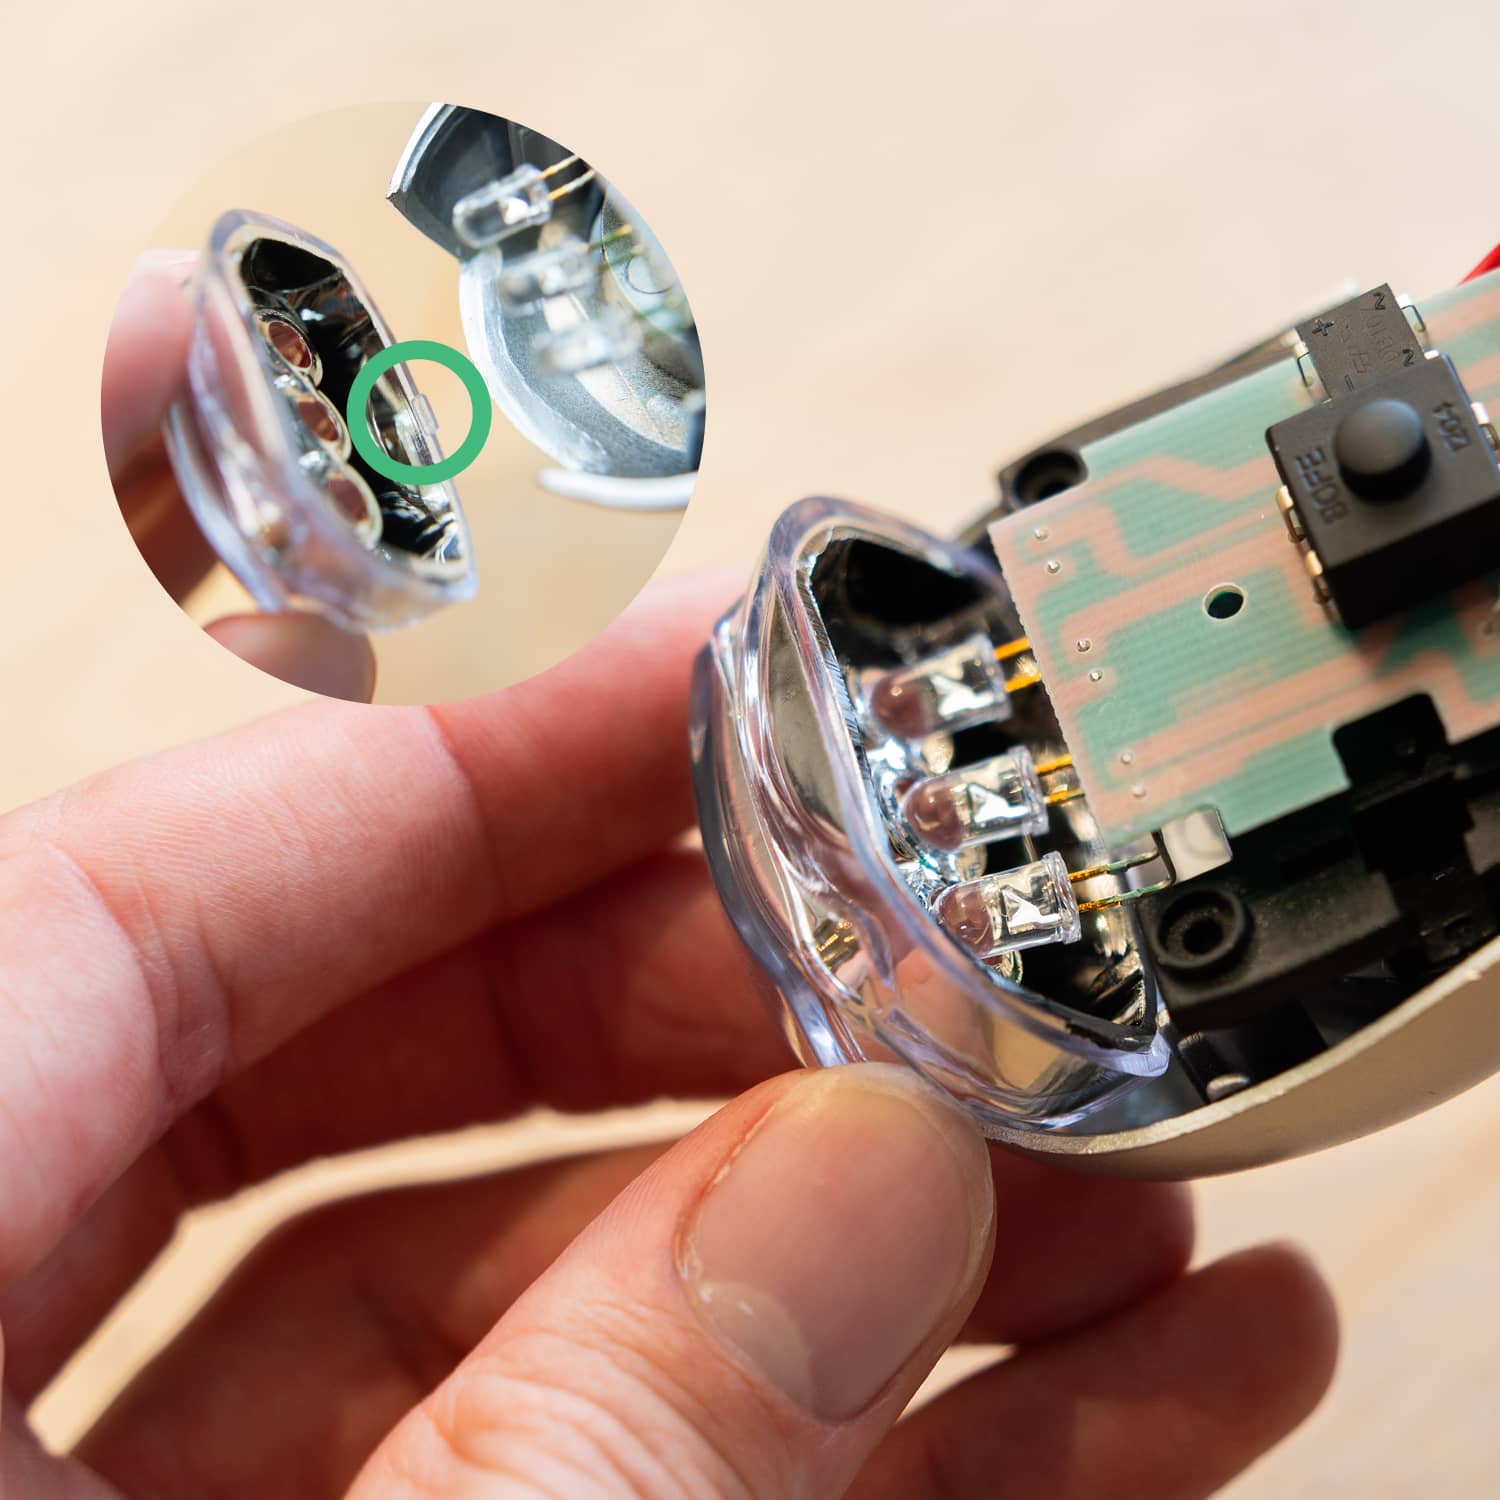
Reattach the LED casing
Put the three LED bulbs in their light reflector casing.
Careful! The side of the LED casing with the small tab (circled above) goes against the side of the torch casing with the gears.
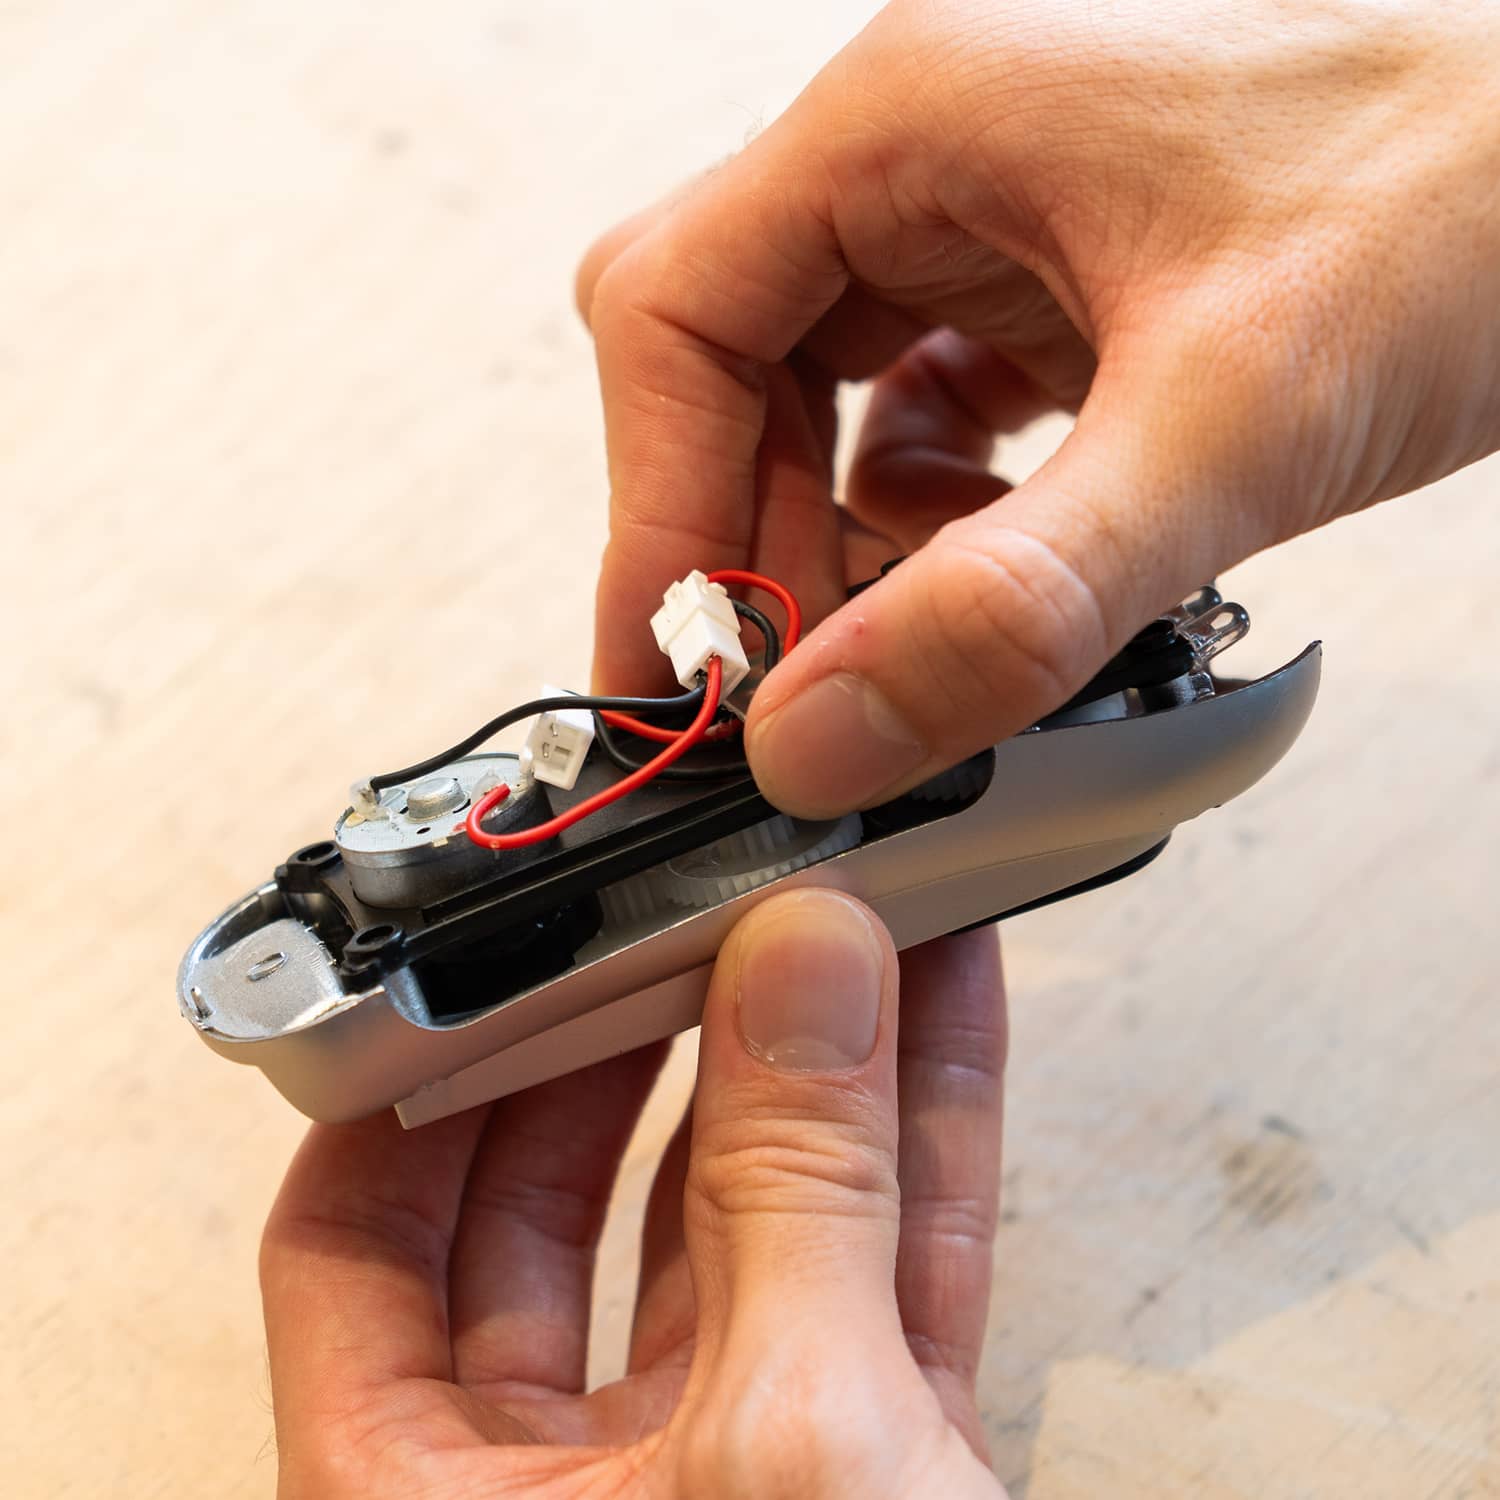
Step 6/9
Make sure the wires are bunched in the middle of the components board
Step 7/9

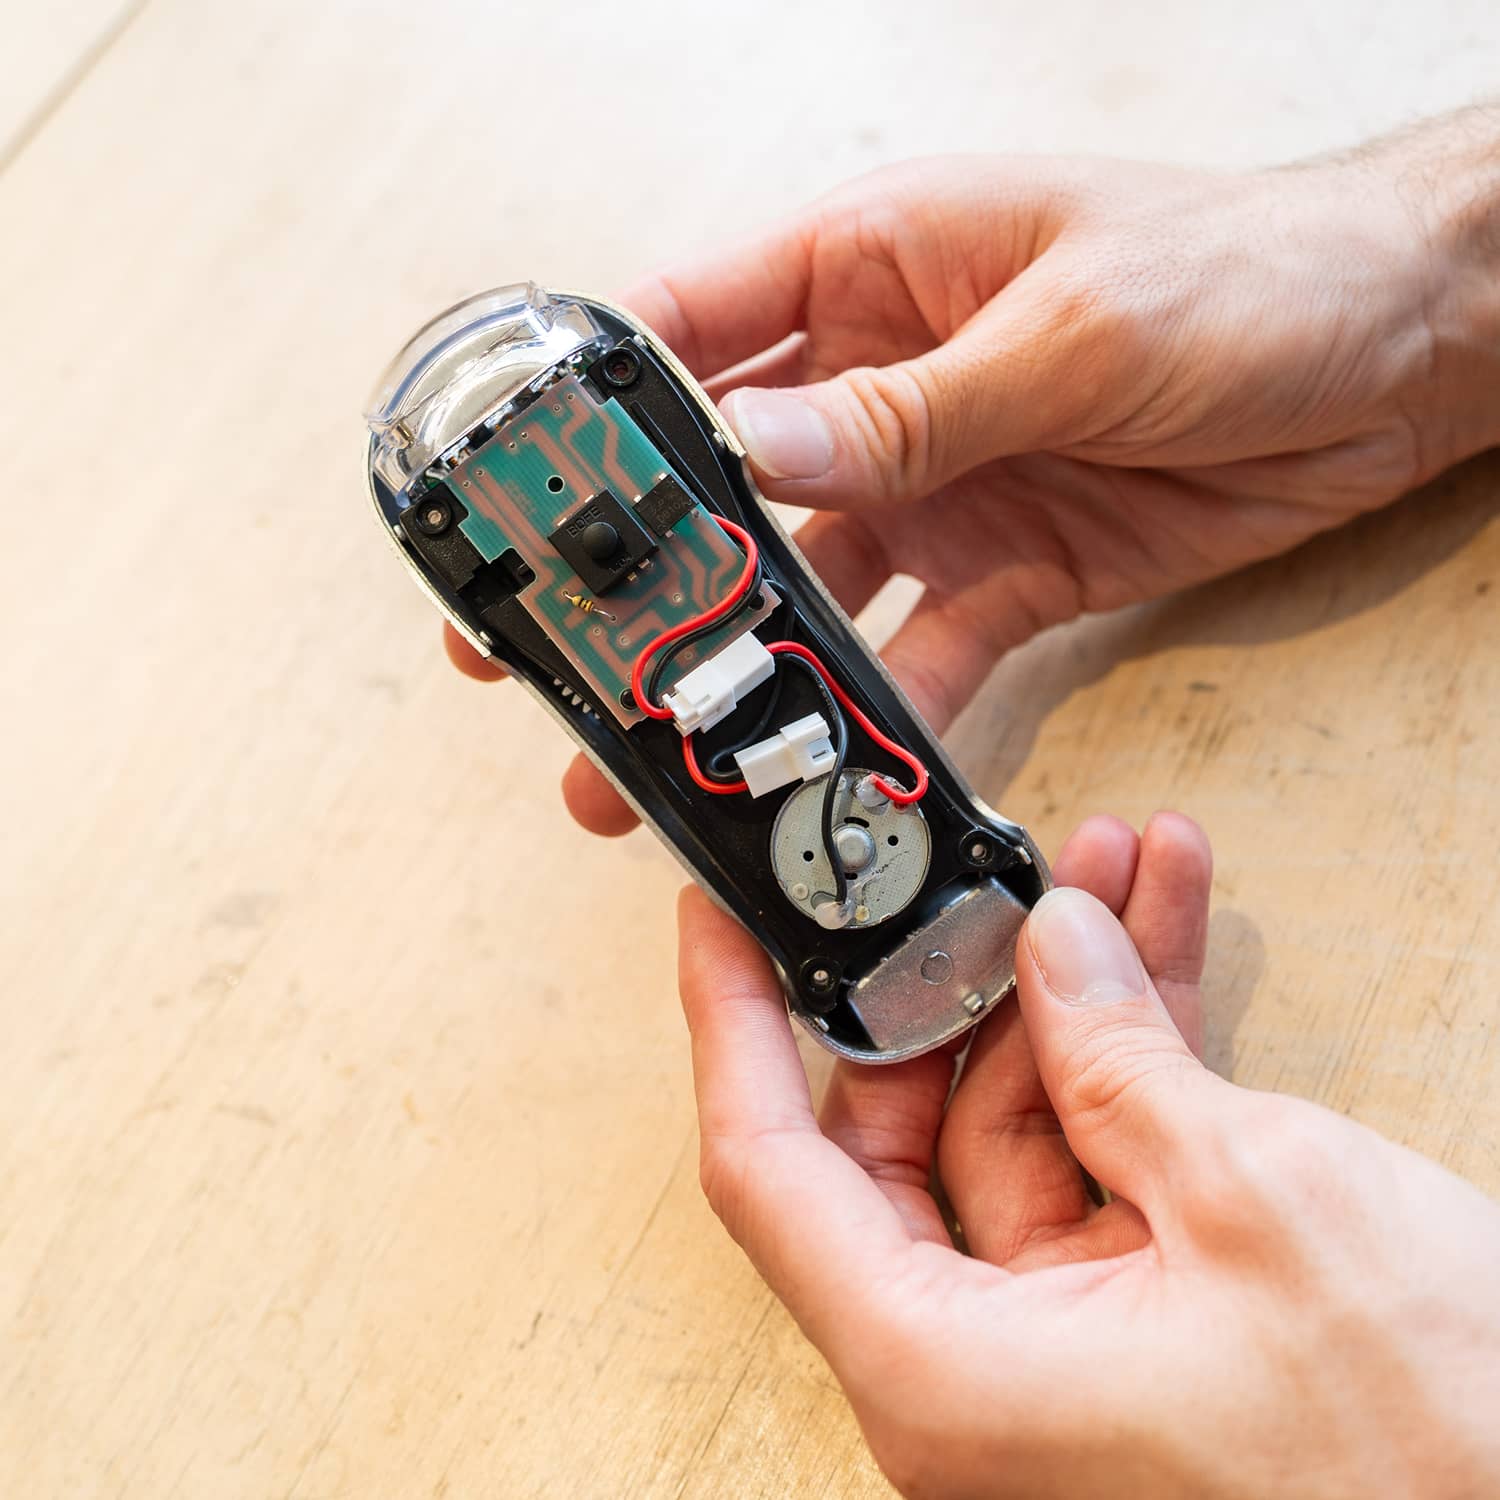
Place the torch cover back on
Before screwing it back together, let's run a test!
Step 8/9
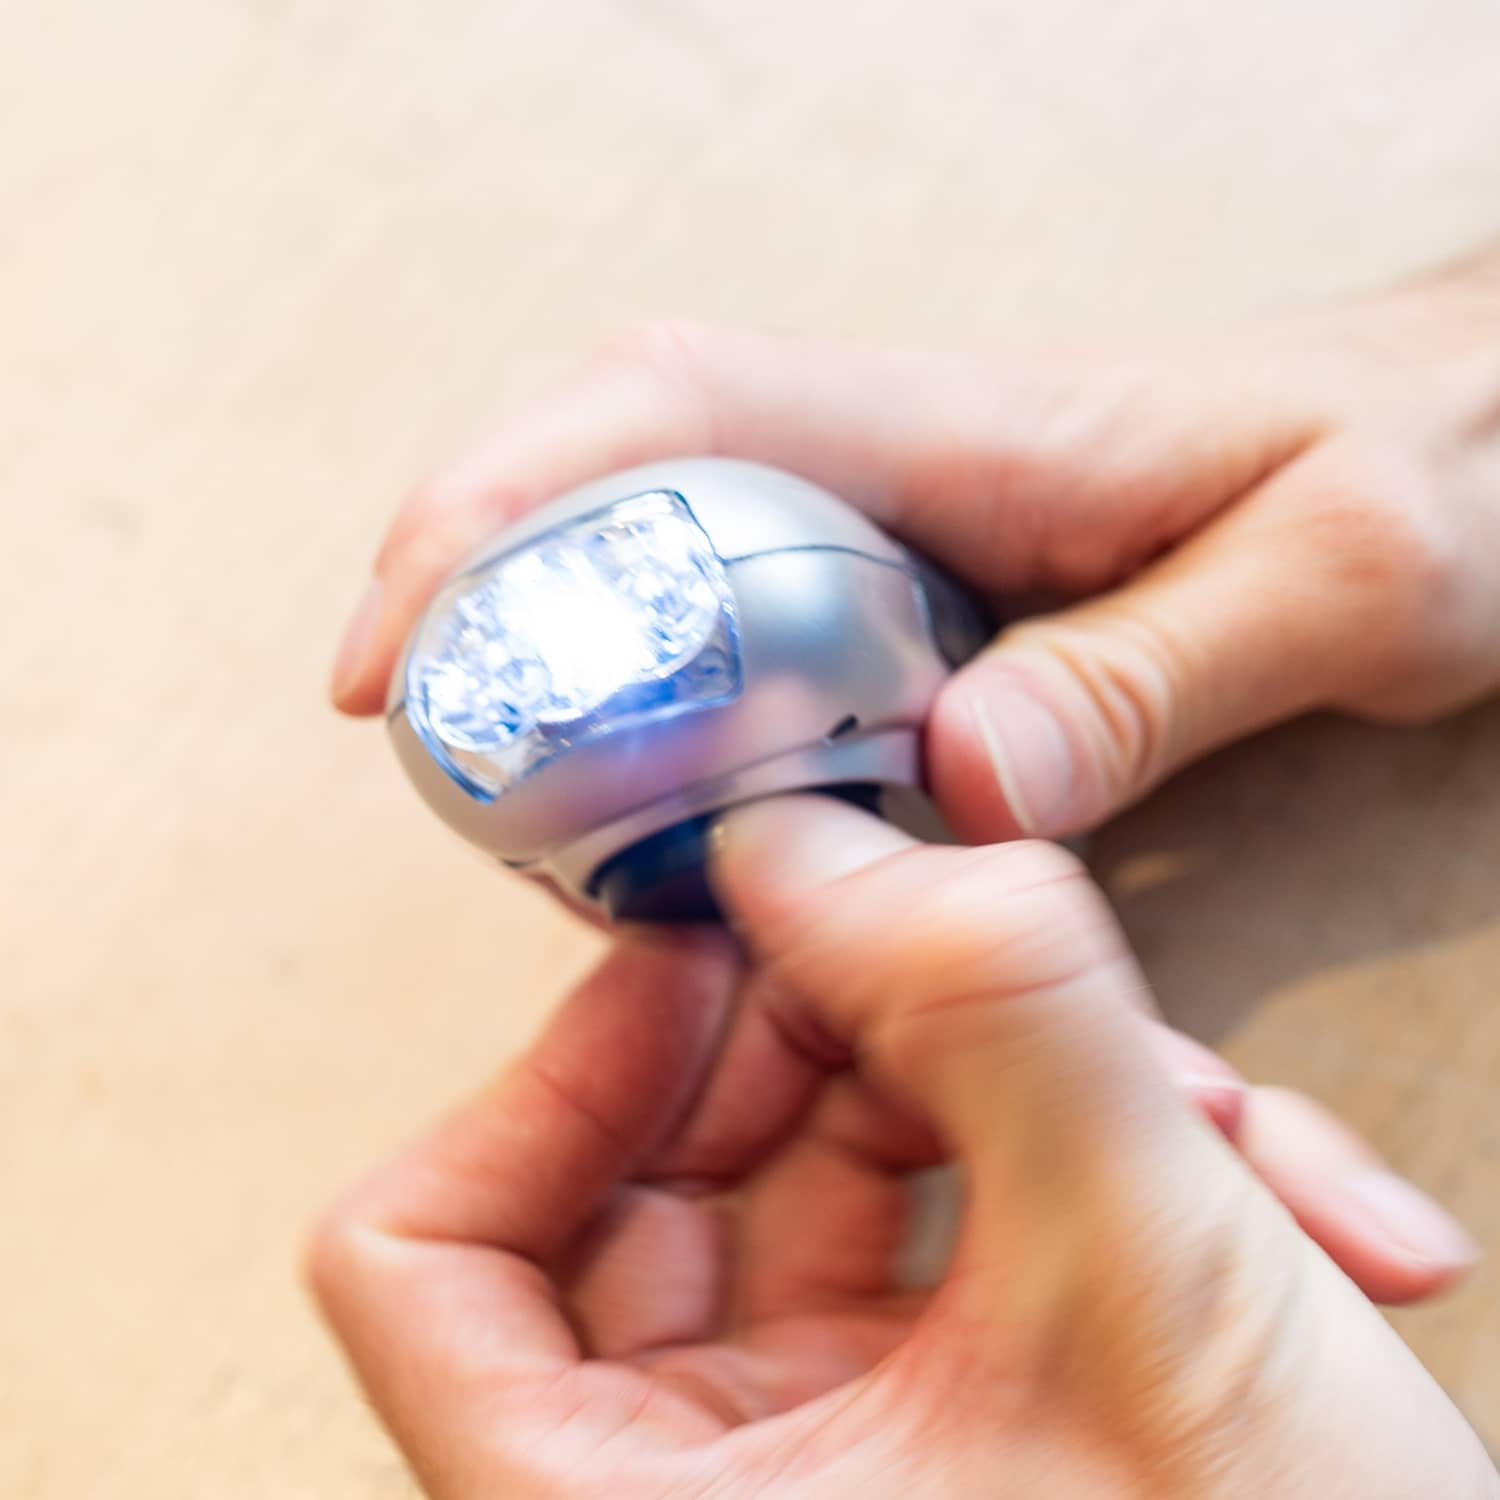
🎯 Test: Does the light come on?
Let's see if you've successfully connected the handle to the generator using the gears. Use the button to turn the torch on, and try winding the handle base to see if the lights work!
Step 9/9
🏆 You fixed Fault #1! 🎉
Now that the LEDs are lighting up, let's see if we can make turning the generator a little easier by adding the handle.